Last time, we left off with each of the individual diamond sections being made.
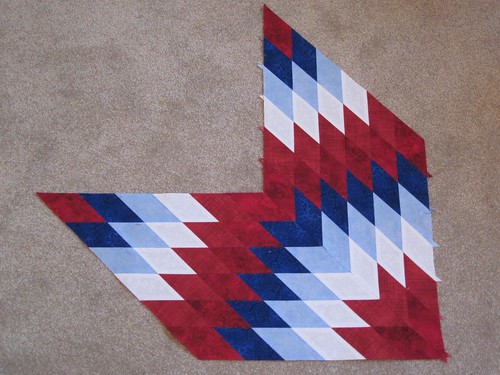
When sewing the two halves of the star together, the most critical part is the center. You want to make sure that your seam intersects the points of all eight diamonds coming together. Note in the picture below that my seam intersection is marked right at the point where all the diamonds come together on one half.
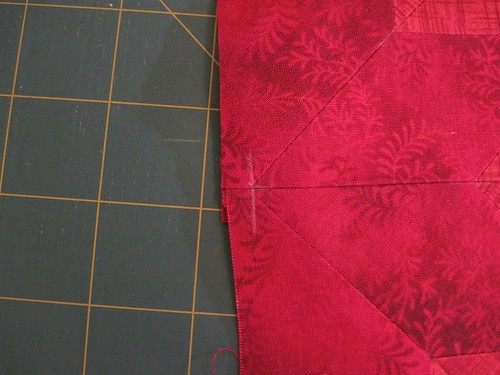
Pin the seams just like the previous steps and then press the seam open in the end.
My Lone Star was by no means perfect. I had a small "poof" in the middle, but it wasn't too awful. It will easily flatten out without any problems once it is quilted. If you've paid attention to your seams and not distorting fabrics too much, you shouldn't have any problems.
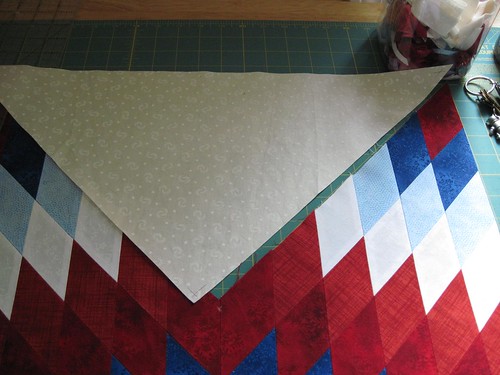
The final "difficult" step in this project is to add the corner squares and triangles. This is where you have to sew some Y-seams. This is the first time I've machine sewn a Y-seam, and to be honest, it wasn't too bad as long as I paid attention to pinning things before I started sewing.
First, layout your quilt with one of the triangles in place. This is critical to make sure you sew the right edges together between your star and the triangle.
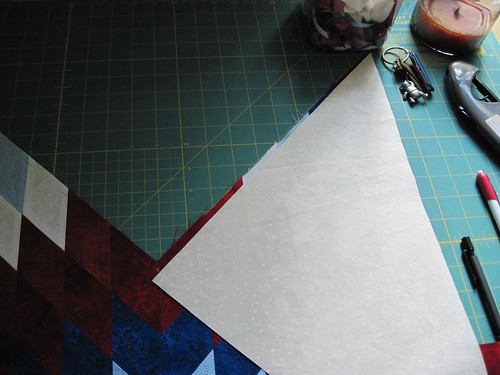
Once that is done, flip the triangle over to sew the first seam. You will want to mark 1/4" in from the inside corner to make sure you don't sew too deeply into the Y.

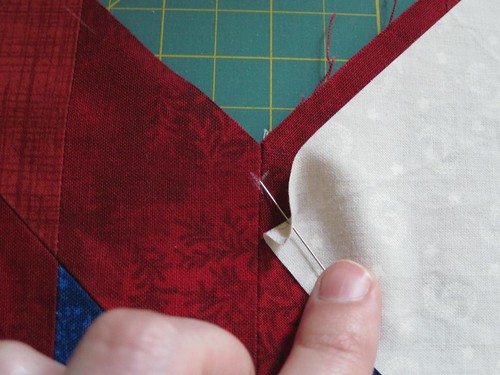
Press your seam towards the lone star and away from the triangle. This definitely helps with the bulk of the seam at the deepest part of the Y-seam.
Once you have all the squares and triangles set in, you can add borders if you decide to make your quilt larger. I had two borders to add to the outside of my star to end up with a quilt that is 67" square.
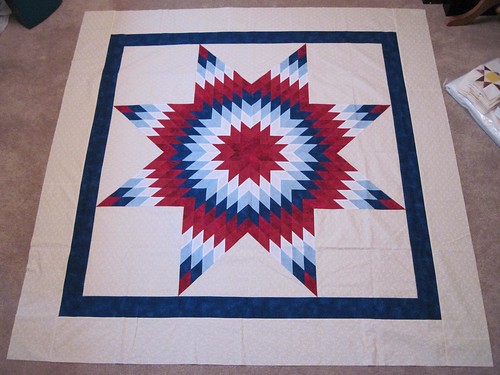
I actually enjoyed making this quilt and didn't have a lot of problems with it. My husband is already wanting me to plan another one for the foyer in the house. I still have to finish quilting this one though!
If anyone has questions or comments about these tutorials, please feel free to comment on this post or to email me.
Happy Crafting!
~Sarah at upstateNYCreations
No comments:
Post a Comment