Monday, December 30, 2013

Stashbusting 2013 - Week 53

I'm a day late in posting for Judy's final Stashbusting post for the year, but I wanted to make sure I had a summary of 2013.

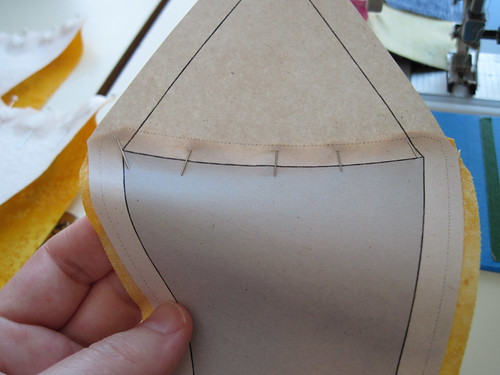
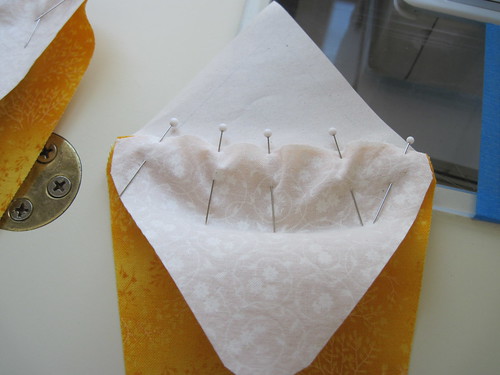
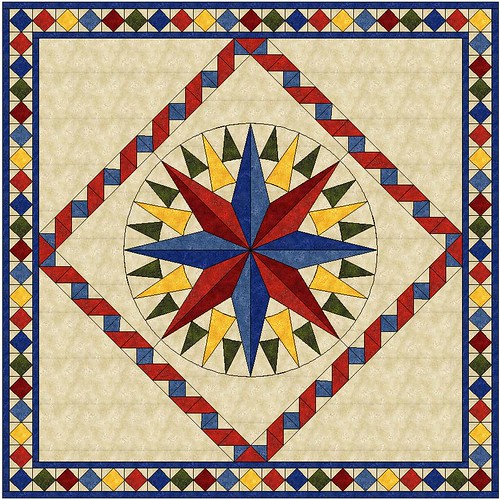
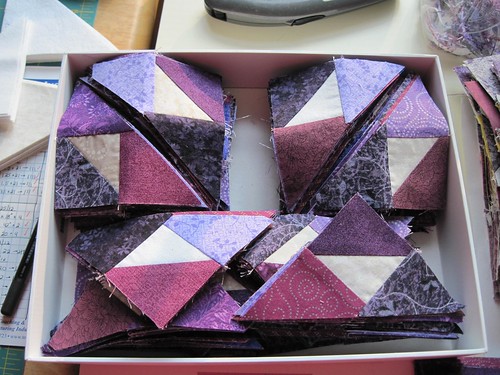
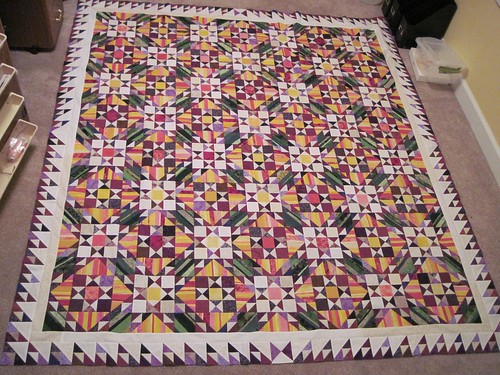
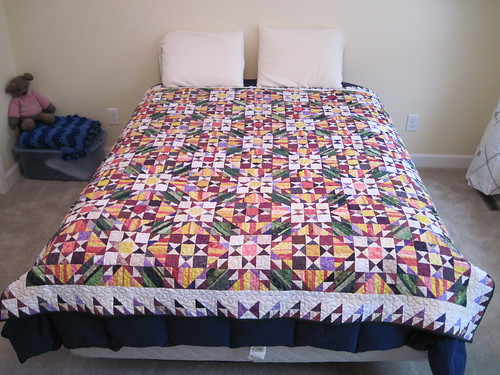
I actually did alright in 2013 and most of my fabric purchases were for specific projects, which I just haven't finished yet.  I did purchase and finish the Lone Star Wall hanging this year.  As usual, I purchased more fabric than I needed, but I wasn't going to risk running out.  The same goes with the Mariner's Compass wall hanging I'm doing now.

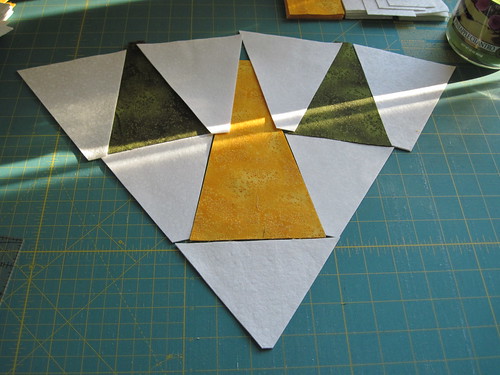
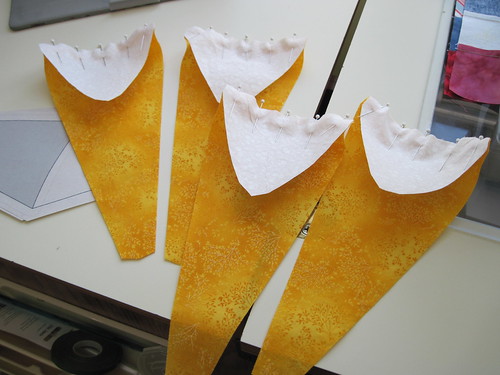
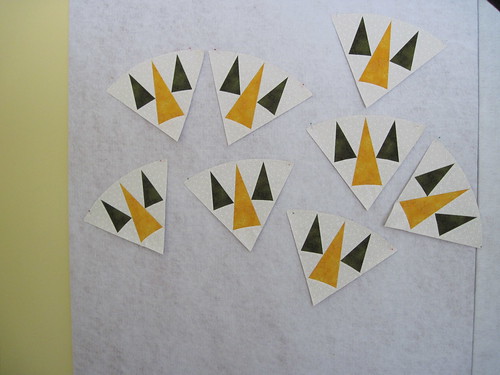
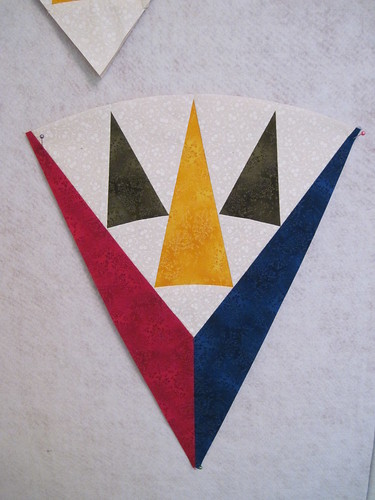
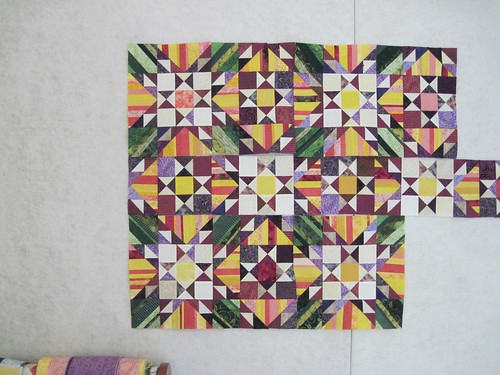
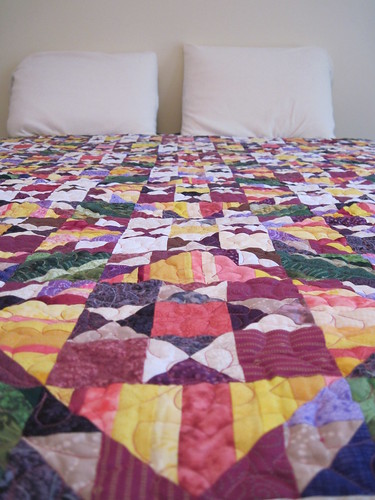
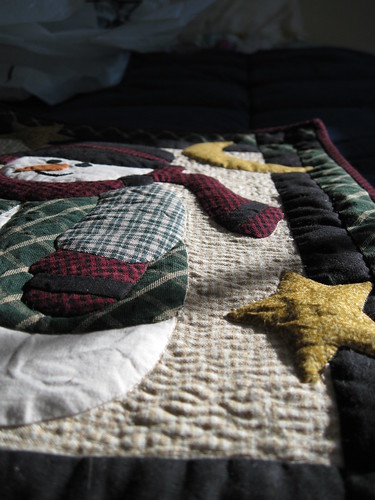
Here's the latest progress on the quilt.  I took the photo on the angle since that center section will be on-point in the final quilt...for now its just easier to put it up square on my design wall.


So here are my stash numbers for the end of 2013.

Added This Week:       0 yards
Added Year to Date:    47.65 yards
Used This Week:          4.79 yards
Used Year to Date:       25.64 yards
Net Year to Date:         22.01 yards
 
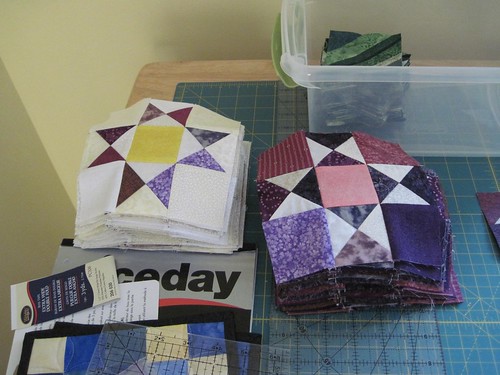
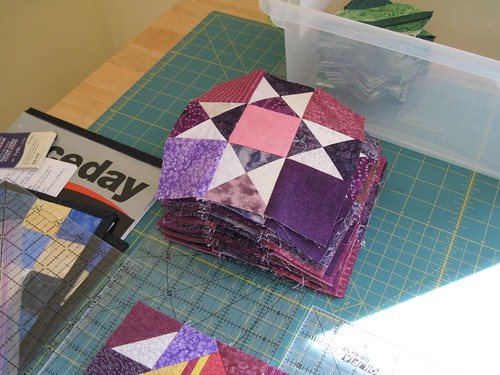
I ended up with more fabric purchased than used this year, but the 22 yards extra actually go mostly to the Mariner's Compass quilt.  I hope to at least finish the top in early 2014.  The quilting will take a while as I will need to think about how I want to quilt the open spaces in the design.

Happy Crafting!
~Sarah at upstateNYCreations

Tuesday, December 17, 2013

COLD!!!

This morning we woke up to the nice warm temperature of -6F outside.  Today would have been an awesome day to work from home, but sadly no, I had to go into the office.

My car was definitely not happy with the cold temperatures.  It didn't feel warm in the car until I actually arrived at the office 20 minutes later.

We've also gotten a fair amount of snow lately.  The past few years, we haven't really had a lot of snow in upstate NY.  Even my parents who live in the "snow belt" didn't get a lot of snow the past two years.  I guess mother nature is starting to make up for it this year. 

This past weekend we had a storm come through that dumped about 14-inches of the white stuff.  It was nice that it was light and fluffy snow versus heavy, wet snow (aka heart attack snow).  My husband cleared our driveway with the tractor (we have a snow thrower on the back of it), while I shoveled the sidewalk and back porch.

Afterwards, we came into find this...

Cat2

Yes, that is our cat.  As CLOSE to the fire as she can get without actually cooking herself.  We're still not sure if she maybe roasted her head a little bit since she was so close.

Cat1

She actually picked her head up a bit when we came and then we could watch her drift off again and slide back down to laying sideways.  We did have to get a wet paper towel when she woke up so that we could wipe the ash off her.  The side of her head was gray from the ash on the hearth (standard by-product of a wood-burning fireplace).

I hope everyone else is staying warm and those of you in the warm parts of the country/world.... ENJOY IT!  :c)

Happy Crafting!
~Sarah at upstateNYCreations

Wednesday, December 11, 2013

Mariner's Compass Update

After I finished the last big quilt for the wall hanging (a Lone Star quilt), I picked out the pattern for the next wall quilt to go in our foyer.  I purchased the fabric a while ago, but only really started piecing in the last week or so.


IMG_2413


Here's some of the fabrics cut and ready for sewing.  Since I'm doing paper-piecing, I cut the pieces with 1/2" seam allowance instead of the typical 1/4".  This way I'll have enough fabric for turning when I do the paper piecing.

IMG_2463

The center yellow triangles were a little tricky since the seam is actually a curved seam.  Afterwards I thought it may have been easier just to cut the pieces to the exact size and sew a standard curved seam. 

IMG_2474

In-process pictures of pinning the over-sized pieces to the paper templates.

IMG_2476


IMG_2475

And here is the finished center triangles.  After I got this far, I also trimmed the curved seam at the outer edge to be the standard 1/4" seam allowance.

IMG_2473

I was able to get all of the middle-triangles done with the yellow/green and white fabrics.

IMG_2477

Next step is to add all the larger red and blue triangles that I'm using.

IMG_2478

In the end, the quilt should look something like this:

Mariner's Compass Quilt Top


Happy Crafting!
~Sarah at upstateNYCreations

Monday, December 9, 2013

Wildflower Fields Completed!

Two years ago, Bonnie Hunter over at Quiltville had a mystery quilt that I participated in.  The pattern is called Orca Bay and Bonnie's colors were blue, red, black and neutrals.

I chose to use fabrics completely from my stash and opted for greens, purples, yellows/pinks and neutrals.

Wildflower_Fields-F

There were an amazing number of pieces to this quilt, as is typical with Bonnie Hunter quilts.  I don't think I would recommend one of her patterns to a beginner or to someone who solely does hand-piecing.

Wildflower_Fields-E

It was actually hard at times to make sure that I had all the right pieces because there were so many.  I think it was something like 300-400 little purple triangles.

Wildflower_Fields-D

The center blocks finally started coming together as Ohio Star blocks.  Both light and dark versions of them.

Wildflower_Fields-C


Wildflower_Fields-B

And finally some blocks up on the design wall to see the overall pattern.

Wildflower_Fields-3

Piecing done!!

Wildflower_Fields-8

Quilting done!!

IMG_2385

And finally....

Completely bound and ready for use!

IMG_2472


IMG_2470

The photo above has the overhead light on while the photo below is just the natural light coming through the windows.  The day was overcast so I decided to do both pictures.

IMG_2468


It was a fun quilt to make and despite it being a bit "crazy colored" in the beginning, the quilt turned out really well at the end.  My husband even likes it and initially he called it the "ugly quilt".

Happy Crafting!
~Sarah at upstateNYCreations

Saturday, December 7, 2013

Snowman Applique

A few weeks back, I was able to finish up the snowman applique project that I've been working on.  All the applique was done by hand and with the needle-turn technique.

IMG_2453

The overall piece came out pretty well for my first try at needle-turn applique.  The applique pieces really stand out once I quilted the piece.  It almost appears to be trapunto, but I was able to achieve the effect by using a thick batting and doing dense quilting around the appliques.

IMG_2460

I used thread matching the background pieces to outline the major applique pieces.  I also outline stitched around the sleeves and scarf for the snowman to make those stand out differently from his body.

IMG_2459

The quilting is a little hard to see, but I did swirls in the "sky" and waves on the "ground".  Different parts of the details show up in the pictures below.

IMG_2458


IMG_2457


IMG_2456


IMG_2455


IMG_2454

Overall, it was a fun project and an easy one to get started on for getting used to needle-turn applique.


Happy Crafting!
~Sarah at upstateNYCreations

Friday, December 6, 2013

It's Been A While....

...since I last posted.  Somehow things got a little crazy at Thanksgiving and I've been playing catch-up since then.  In the last 3 weeks, the only time I spent on the computer was to pay bills!

Over Thanksgiving, my older sister came to visit.  She's from Florida, so traveling up north this time of year is always exciting. :-)  The hubby and I went to my parents to visit with the entire family for two days, and then my older sister and one brother came to stay at our house for a day.  It was going to be longer, but a winter storm came up and we all decided it was best for them to go back a day early so they didn't get caught in a lot of snow.

IMG_2464


I have been getting some quilting done, so I'll share those pictures in another day or so.

We've also been enjoying the fireplace with the colder temperatures lately.  The kitty has also been enjoying the fireplace. :-)

IMG_2467

She routinely now lays right on the hearth next to the fireplace.  She typically sits or lays on the gloves since apparently the hearth is too cold for her. Hahaha.

A few months ago, I mentioned a problem with her meowing all night long.  We think we've finally solved it!  We took the cat to the vet and they found nothing physically wrong with her, so they suggested using Melatonin.  Its a natural supplement that promotes sleep.  They suggested giving her 3mg per day just before bed, to get her sleep cycle back to sleeping at night.

The stuff actually helped!!  She stopped meowing at night almost immediately.  The standard Melatonin is available pretty much everywhere and its about 90% effective with the cat.  We've recently purchased some that is a timed-release version from Amazon.  We're hoping it will be a little more effective since it slowly releases the melatonin.  On the regular version, she would get up around 4 or 5am and would occasionally meow.  So far, it appears that the time-release version keeps her asleep all night.  Yay!

Happy Crafting!
~Sarah at upstateNYCreations