Wednesday, May 30, 2012

"Wanna Know" Wednesday


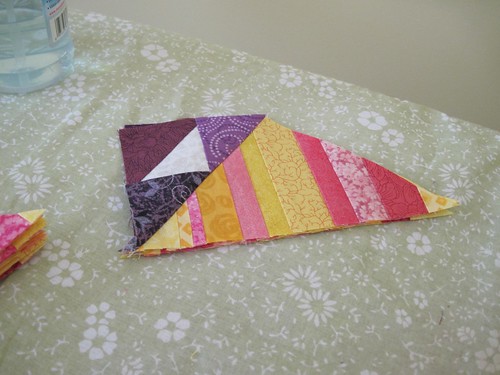
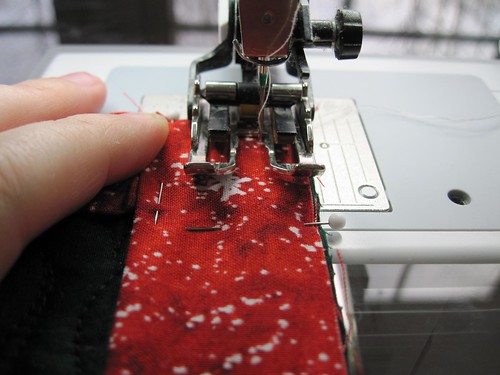
For this week's "Wanna Know" Wednesday, I've decided to post directions on how to make a Spinning Star Table Runner.  Here's the finished piece:

Table_runner-A


Spinning Star Table Runner

Fabric Requirements:
-          1/2 yard Neutral
-          3/8 yard Green
-          3/8 yard Blue
-          1/2 yard Red

-          1/3 yard for binding (2.5” wide, double-fold)
-          1.5 yards for backing (no seams; 1 yard with seams)

* assumes 40” wide fabric

Cutting Directions:
-          Neutral
o   (A) – Cut two (2) strips 4.5” wide.  Cut twelve (12) 4.5” squares from the strips, save the remainder of the strip.
o   (B) – Using the leftover portion from step (A), trim the remainder down to 3-5/16” wide.  Cut three (3) 3-5/16” squares.
o   (C) – Cut one (1) strip 5.25” wide.  Cut three (3) 5.25” squares.  Then cut these on the diagonal twice to end up with twelve (12) smaller triangles.
-          Green
o   (D) – Cut one (1) strip 3” wide.  Cut six (6) 3” squares.  Then cut these on the diagonal once to end up with twelve (12) smaller triangles.
o   (E) – Cut four (4) strips 2.5” wide for borders.  From one strip, cut two (2) rectangles measuring 2.5” x 16.5”. 
o   (F) – From the remaining three strips from step (E), cut/piece the strips to obtain two (2) rectangles measuring 2.5” x 48.5”.
-          Blue
o   (G) – Cut one (1) strip 5.25” wide.  Cut three (3) 5.25” squares.  Then cut these on the diagonal twice to end up with twelve (12) smaller triangles.
o   (H) – Cut four (4) strips 2.5” wide.  Cut ten (10) rectangles measuring 2.5” x 12.5” for sashing.
-          Red
o   (J) – Cut one (1) strip 5” wide.  Cut six (6) 5” squares.  Then cut these on the diagonal once to end up with twelve (12) smaller triangles.
o   (K) – Cut one (1) strip 2.5” wide.  Cut eight (8) 2.5” squares for setting squares.
-          Binding
o   (L) – Cut four (4) strips 2.5” wide.  Piece strips into one continuous strip for binding.

Sewing Directions:
1.       Square-in-square blocks – Make 3 total.
a.       Take the 3 part (B) neutral 3-5/16” squares and the 12 part (D) green small triangles.
b.      Sew one (D) triangle to one of the edges of a (B) square.  Press seam towards the darker color.
c.       Sew one (D) triangle to the opposite edge of the (B) square.  Press seam towards the darker color.
d.      Sew two remaining (D) triangles to the remaining edges of the (B) squares.
e.      Continue for all three blocks.  Final blocks should measure 3.5” square with seam allowances.

2.       Three-quarter blocks – Make 12 total.
a.       Take the 12 part (G) blue triangles and the 12 part (C) neutral triangles.
b.      Match up edges of the blue and neutral triangles to form one larger triangle.  Sew and press seam towards the blue triangles.
c.       Take the 12 part (J) red triangles and the pieced triangles from step 2b.  Sew long edges together and press seams towards the red triangles.
d.      Continue for all 12 blocks.  Final blocks should measure 3.5” square with seam allowances.
3.       Assemble Spinning Star Blocks – Make 3 total.
a.       Layout sewn pieces from steps 1 and 2 along with 12 part (A) neutral squares.  Arrange in the pattern shown.
b.      Sew pieces into three strips, pressing seams as follows:
                                                               i.      Top & bottom rows – press towards three-quarter block.
                                                             ii.      Middle row – press towards three-quarter block (red).
c.       Sew rows together.  Press seams towards top and bottom rows (away from the square-in-square block).
d.      Continue for all three blocks.  Final blocks should measure 12.5” square with seam allowances.
4.       Assembly
a.       Take four part (H) blue sashing strips and assemble the strips with the Spinning Star Blocks to create one long row.  Press seams towards blue sashing.
b.      Take four part (K) red squares and three part (H) and sew together to create a long strip.  Repeat to make the 2nd long strip.  Press seams towards blue sashing.
c.       Take the two long strips from step 4b and sew to the long strip of Spinning Star Blocks from step 4a.  Press seams towards the outer strips.
d.      Take two part (F) border strips and sew to the top and bottom of the sashed block section.  Press seams toward border strips.
e.      Take two part (G) border strips and sew to the sides of the sashed block section.  Press seams towards border strips.
5.       Finishing
a.       Layer quilt with backing and batting material and quilt as desired.
b.      Trim quilt top to be square.
c.       
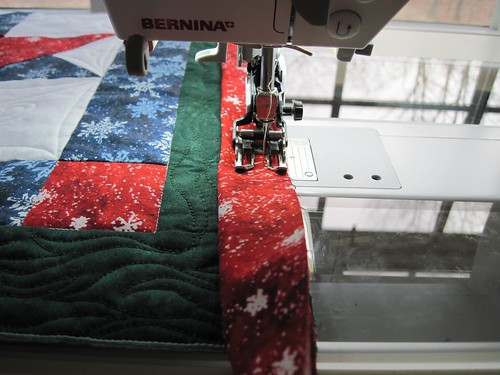
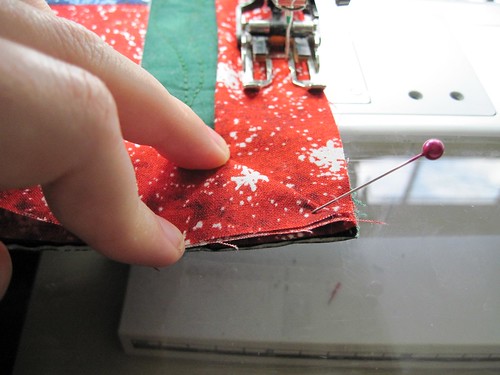
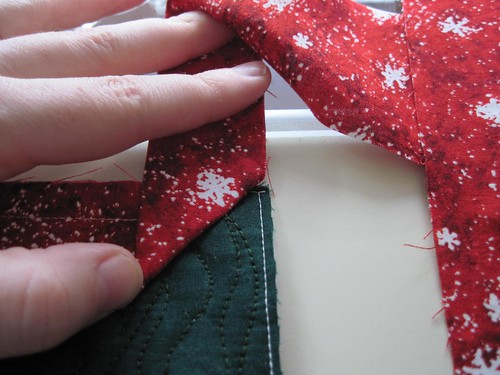
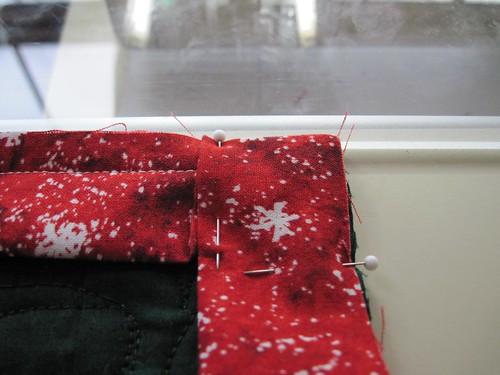
Sew binding (L) onto quilt top per usual method.


Happy Crafting!
~Sarah at upstateNYCreations

Tuesday, May 29, 2012

Make-a-List Monday (posted Tuesdsay)

It seems I took an unintended break from blogging the past week or two.  The pink eye that I had picked up last week proved to be a little more stubborn than usual.  I ended up having to go back to the doctor and then seeing an ophthalmologist, too, because the first set of eye drops seemed to stop working.  I got a second, stronger set that seemed to do the trick.  My eye is now fine and I'm back to wearing contacts again.

Rich and I ended up taking part of last week off on vacation to make it a long weekend off from work.  We did a lot of work outside getting a planting bed ready along with purchasing plants and planting said plants.  We are still waiting for some to show up from ordering them on the internet, but the plants we purchased at a local nursery are all planted.  We ended up with 6 lupines, 24 poppies, 6 balloon flowers, 2 pholox, 2 catfish plants, 9 violas, 3 campanella, and 3 columbine.  Lots of plants!

We're still waiting for 6 boxwoods, and 6 cone flowers to be delivered.  It will be nice once the planting bed is established.  We also have to get some wood and lattice to make a trellis for some clematis.  We'll have to get the wood and lattice, paint it to match the trim color and then assemble everything.  I think that's going to be the project for this week.

When all is said and done, because we spent so much time working on the planting bed last week, very little sewing got done.  I think I got as much sewing done as un-sewing.  I got a bunch of strips ready for the next diamond pieces in the Lone Star quilt and sewed a bunch of them to the wrong strips. Argh!  Rip-Rip-Rip!  Oh well, at least they are right now.

So here's what I had attempted to do last week:
1.  Post directions for table runner. Not done...again

2. Post for Wanna-Know-Wednesday. Not done.

3. Share pictures of the Lone Star Wall Hanging. Not done.

4. Setup area in sewing room for scraps. Not done.

5.  Plant flowers and share pictures of the front planting bed. Planted lots of flowers and took some pictures.  I will post them this week.

Here's what I hope to do this week....

1.  Post directions for table runner.  I do have these typed up...I just need to post it.

2.  Post for Wanna-Know-Wednesdsay.

3.  Share pictures of Lone Star Wall Hanging.

4. Setup area in sewing room for scraps.

5. Share pictures of planting bed.

Happy Crafting!
~Sarah at upstateNYCreations

Monday, May 21, 2012

Make-a-List Monday

Last week was a pretty bad week for me.  I didn't post at all last week (BAD SARAH!).  On Wednesday, I woke up with one eye almost completely swollen shut.  The night before, both eyes felt a little itchy, but I didn't think anything of it since I have allergies.  It clearly wasn't just allergies though.

I went to the doctor and was diagnosed with conjunctivitis (pink eye).  Lucky me! :-(

I've been on eye drops for 5 days now and while the swelling was gone as of yesterday, I woke up this morning with the eye swollen again.  Not as bad as last week, but still not great.  Just when I thought things were getting better....

So here's what I had attempted to do last week:

1. Post directions for table runner. Not done.

2. Finish sewing and pressing the next step for the Orca Bay pattern. I did get this completed.  All the sub-parts for Orca Bay are done and I've set this aside for the time being to work on a Lone Star quilt.

Wildflower_Fields-G

3. Post for Wanna-Know-Wednesday. Not done.

4. Prepare directions for Lone Star Wall Hanging. Not done.

5. Setup area in sewing room for scraps. Not done.

I did actually start sewing the Lone Star Wall Hanging and was able to get 3 diamond sections made.  It looks really nice and I promise I'll share some pictures. ;-)

This week is a short work week for me as I'm taking Wednesday through Friday off as vacation.  This is what I hope to accomplish though.

1.  Post directions for table runner.

2. Post for Wanna-Know-Wednesday.

3. Share pictures of the Lone Star Wall Hanging.

4. Setup area in sewing room for scraps.

5.  Plant flowers and share pictures of the front planting bed.

Happy Crafting!
~Sarah at upstateNYCreations

Thursday, May 10, 2012

"Wanna Know" Wednesday - Irons

I know this post is actually a day late...but better late than never!

Almost every quilter I know has had issues with their irons.  I think the most common one I hear about is irons spitting.  I had a wonderful Rowenta iron that I absolutely loved, then I moved to a town where the town water was very hard (lots of mineral deposits on things) and it a manner of months, my iron was toast.

Even if I tried to put filtered or distilled water into it afterwards, it still didn't work properly.  I miss my iron! :-(

I now use only distilled water in my iron.  Some manuals for irons say not to use filtered water or distilled water, but the distilled water has absolutely nothing in it that will harm the iron.  In fact, since I've used distilled water I have NO spitting or leaks from irons.  The steam seems to be better, too.

While tap water is "free", distilled water is usually very inexpensive.  I can purchase a gallon of distilled water at Walmart for about 50-75 cents.  Paying 50-75 cents a gallon for distilled water is worth it to me such that I'm not fighting with the spitting and not having to replace expensive irons.

Happy Crafting!
~Sarah at upstateNYCreations

Monday, May 7, 2012

Make-a-List Monday

Last week went by way too quickly!  Sadly, I didn't get even close to completing the tasks I had wanted to, mainly because we had our yard hydro-seeded on Tuesday.  On Monday evening, the hubby decided that he wanted to go out and buy all the stuff such that we could water the lawn from a stream.  We had created a dam in the stream such that it held a small pool of water and the overflow went downstream like it normally would.

The pump then pulled water from the reservoir and pumped it to a sprinkler head to water the grass seed.  We were able to get it all working and after several nights of buying more things, re-inforcing the dam, spreading out the sprinklers and hoses...we got it all working and watered this past weekend.  However, since most evenings were spent trying to get the sprinklers setup, I didn't have a lot of time for sewing.

Here's the list from last week:

1. Post directions table runner online. Not completed. :-(

2. Sew the next step for the Orca Bay pattern (sewing wing triangles to string blocks) and press pieces. Pressed all those pieces shown below and started sewing the 2nd triangle onto the string blocks.


Wildflower_Fields-E Wildflower_Fields-F

3. Prepare directions for Lone Star Wall Hanging. Not completed. :-(

4. Post tutorial for "perfect binding corners". DONE!!!

5. Setup area in sewing room for scraps. Not completed. :-(

Hopefully this coming week I'll do a better job at getting into the sewing room!  Here's what I would like to accomplish this coming week:

1. Post directions for table runner.

2. Finish sewing and pressing the next step for the Orca Bay pattern.

Wildflower_Fields-G

3. Post for Wanna-Know-Wednesday.

4. Prepare directions for Lone Star Wall Hanging.

5. Setup area in sewing room for scraps.

Happy Crafting!
~Sarah at upstateNYCreations

Sunday, May 6, 2012

Stashbusting 2012 - Week 19

I did some more work on Wildflower Fields this week, but not a ton.  Work was very busy this week as well as the "home life".  We had our lawn put in (hydroseed) on Tuesday, so we spent most of the week figuring out what items we needed to run a pump and sprinklers.  Since we are on a well here, we didn't want to use the well water for watering.  So we were able to dam up a small stream (there's still water flowing through, but we were able to make a small pool) and we have the pump pulling water from the "reservoir" to water the lawn.  Surprisingly, it actually works and we were able to water the entire lawn today.

Wildflower_Fields-G

 Here's one of 60 blocks I have made now for a scrap quilt.  I made two of these this week, which is my stash busted for the week.

  Scrappy_Quilt-A

About two months ago, I gifted a quilt to a co-worker who had a baby last fall.  Here's a picture from his Mom of his reaction when he first saw it.  He still loves looking at all the bright colors on it and touching all the fabrics.  :-)

Blog-A


Here are the numbers:
Added This Week:       0.0 yards
Added Year to Date:    15.54 yards
Used This Week:          0.14 yards
Used Year to Date:       10.17 yards
Net Year to Date:         5.37 yards

Wednesday, May 2, 2012

"Wanna Know" Wednesday - Perfect Corner Binding Tutorial

In 2010, I took a quilting class (even though I already knew how to quilt and bind a quilt) and learned a new technique for getting the corners of binding JUST right.  Hopefully the pictures and text will be good, as this is the first time I'm trying to do something like this.

 First, you want to start out machine stitching your binding to the quilt top.  The example I have below is for a double-fold binding where I cut the strips at 2.5" wide.  My seam allowance is a little more than a 1/4" as I wanted the binding to be really full.  However, this technique works for any size binding...any seam allowance (and no math involved).

So line up your raw edges of your fabric to the raw edge of the quilt and start stitching with the desired seam allowance.
Binding_Tutorial-A

As you get closer to the corner, you'll want to stop stitching to setup for stitching to the corner.  Now, most binding tutorials have you measure from the corner back towards your needle and make a mark to define where to stop stitching.  The distance from the corner is the width of your seam allowance.  The way this technique works is that before you get to the corner, stop stitching.  Take your folded binding and fold it straight up towards your walking foot.  You'll want the folded edge of the binding at the edge of the corner of the quilt.

Next, while holding your binding folded upwards towards your walking foot, fold the binding again at a 45-degree angle towards the left.  Take a look at the picture below.  I've placed a pin in the folded section to help hold it in place while taking a photograph.  You should be able to see the folded piece that makes the 45-degree angle.

Binding_Tutorial-B
Next, while holding the binding in place, start stitching again and stitch as close as you can to that 45-degree line.  When I get within a stitch or two of the fold, I usually stop the foot pedal and I manually advance the machine with the hand-wheel.  I haven't had the needle catch the fold yet, and I hope it never does! :-)  The picture below will show how close I get to the folded section.

Binding_Tutorial-C

Because we stopped EXACTLY where the 45-degree angle was, we automatically stop at a distance that's the same as our seam allowance from the edge of the quilt.  It works EVERY time.  I've tried it with up to a 1/2" seam allowance and I still got a perfect corner.

Once you get to the folded section, lift up the pressure foot and let the folded piece go straight again.  Back-stitch with your needle to secure the stitches and cut your threads.

Next, fold your binding upwards like the picture below.  This is how you "normally" do the binding corner.

Binding_Tutorial-D
Once its folded upwards on the 45-degree angle, you can fold the binding straight down towards you.  The raw edge of the binding should be lined up with the raw edge of the quilt.  Here's a close-up of the corner.  I usually use some straight pins to hold things in place until I start stitching.
Binding_Tutorial-E

Finally, start stitching again by placing your needle in at approximately the location where the 45-degree angled piece starts underneath.  It doesn't matter if you're a little over it, but I've found that if I start stitching from the edge, it makes it hard to turn the binding when I hand-sew it to the back.

Binding_Tutorial-F


Hopefully this was easy enough to follow.  If anyone does run into problems (or has questions), feel free to contact me.