I'm always amazed at how quickly time goes by. In grade school, time felt slow until the summer and then all of a sudden it was fall again. Then college came and somehow time seemed to go by quickly due to the amount of homework needing to be done. Then "real life" came...and time goes by SO quickly. The weekends are never long enough and the days go by way too fast during the week!
Despite the week feeling "short", I did get a fair amount done. Here is my list from last week and what I accomplished.
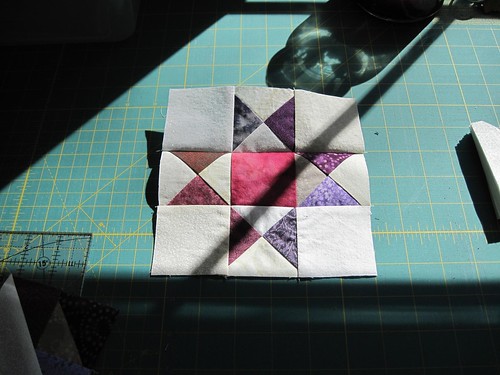
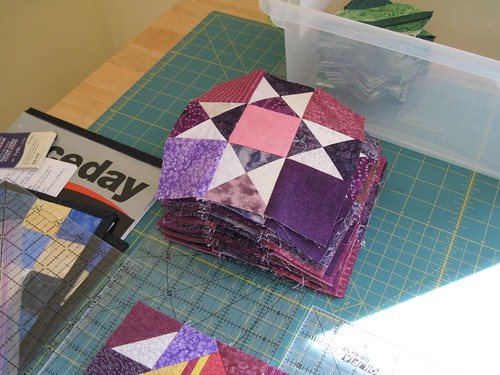
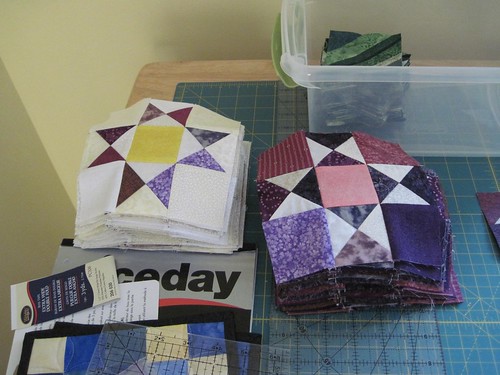
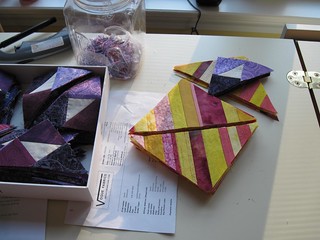
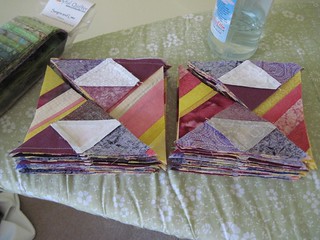
1. Make all "dark" Ohio Stars for Bonnie Hunter's Orca Bay pattern. My quilt will be called "Wildflower Fields" as I'm using purples, pinks, yellows, greens, reds and neutrals in the quilt. DONE!
2. Press all "light" Ohio Star pieces for Orca Bay pattern. DONE! I even pieced all the "light" Ohio Star blocks.
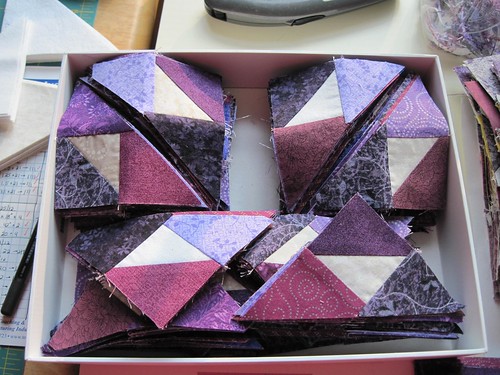
3. Trim up all triangle pieces for Orca Bay pattern. DONE!
4. Prepare directions for table runner and share online. Partially done - I have the directions written, but they aren't online yet. I'm hoping to get them up tomorrow (Tuesday).
5. Prepare directions for Lone Star Wall hanging. Sadly, I didn't get to this one this week. I chalk it up to getting the "light" Ohio Star blocks done. ;-)
Friday was my birthday, so I was able to get quite a bit done on Friday. I got my hair cut in the morning and then spent the rest of the day sewing until we went out to dinner in the evening. It was a good day! :-)
So my plans for this coming week are:
1. Post directions table runner online.
2. Sew the next step for the Orca Bay pattern (sewing wing triangles to string blocks) and press pieces.
3. Prepare directions for Lone Star Wall Hanging.
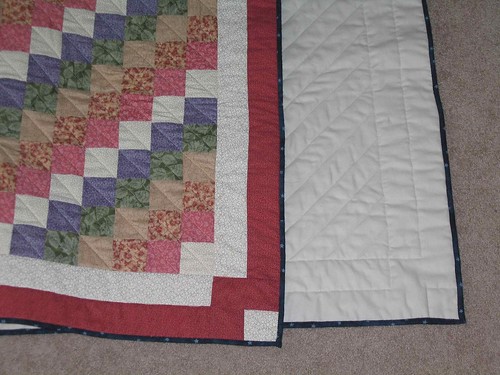
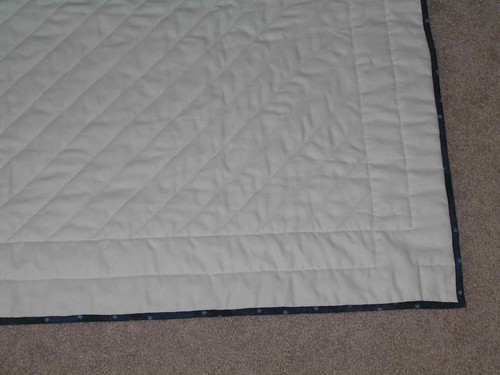
4. Post tutorial for "perfect binding corners".
5. Setup area in sewing room for scraps.
Happy Crafting!
~Sarah at upstateNYCreations