
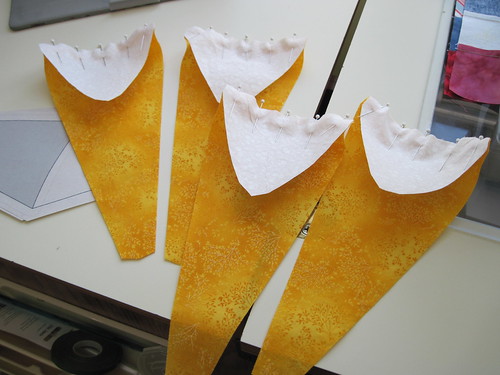
Here's some of the fabrics cut and ready for sewing. Since I'm doing paper-piecing, I cut the pieces with 1/2" seam allowance instead of the typical 1/4". This way I'll have enough fabric for turning when I do the paper piecing.
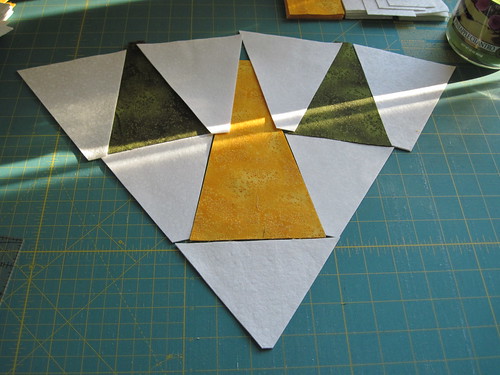
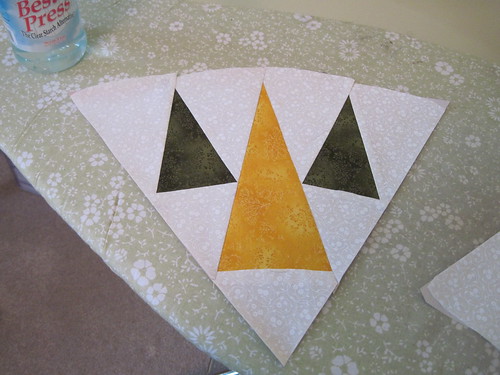
The center yellow triangles were a little tricky since the seam is actually a curved seam. Afterwards I thought it may have been easier just to cut the pieces to the exact size and sew a standard curved seam.
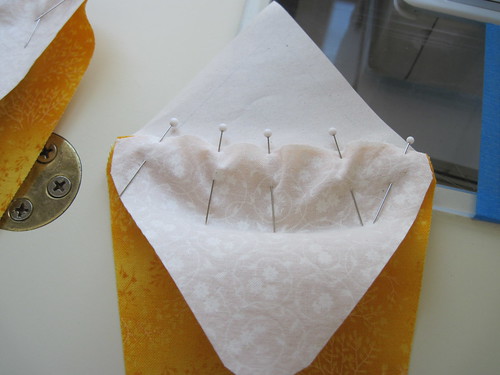
In-process pictures of pinning the over-sized pieces to the paper templates.
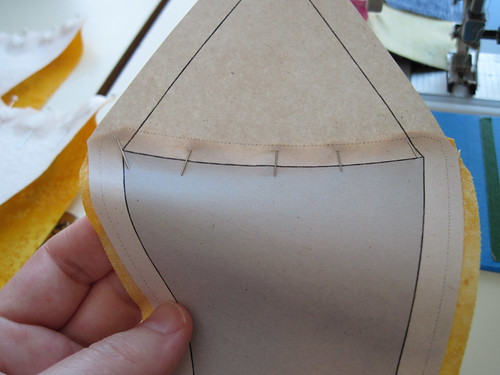
And here is the finished center triangles. After I got this far, I also trimmed the curved seam at the outer edge to be the standard 1/4" seam allowance.
I was able to get all of the middle-triangles done with the yellow/green and white fabrics.
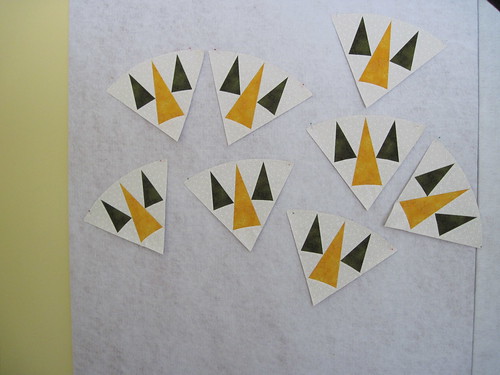
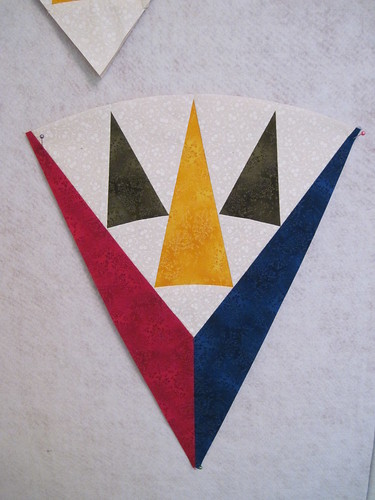
Next step is to add all the larger red and blue triangles that I'm using.
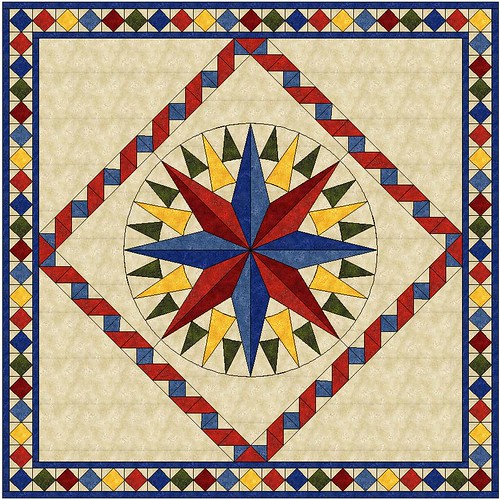
In the end, the quilt should look something like this:
Happy Crafting!
~Sarah at upstateNYCreations
beautiful! I wouldn't want to paper piece though especially with curved seams - I would be hand stitching for sure :)
ReplyDelete