I thought I would do a post on starting and ending a line of quilting and being able to bury the thread afterwards. Clicking on any of the pictures will take you to my Flickr site and you can view the picture larger.
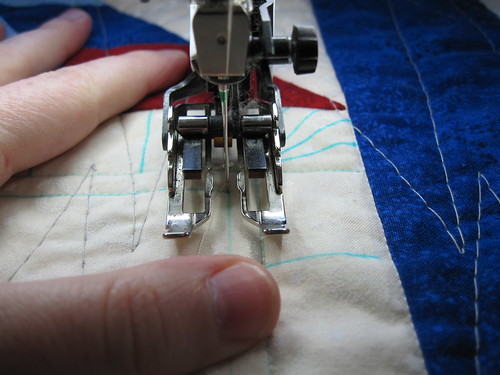
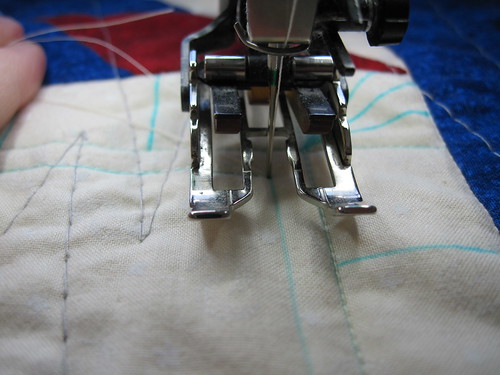
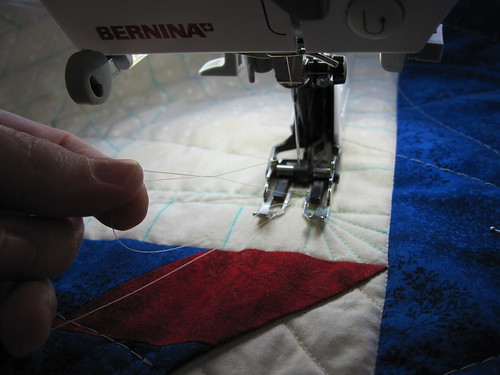
When starting the thread, first you want to put your needle down where you want to start your quilting.
Be sure to keep a tight hold of the thread that comes from your needle and raise the needle to the up position again.
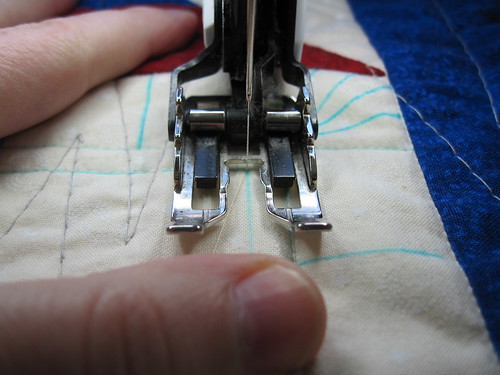
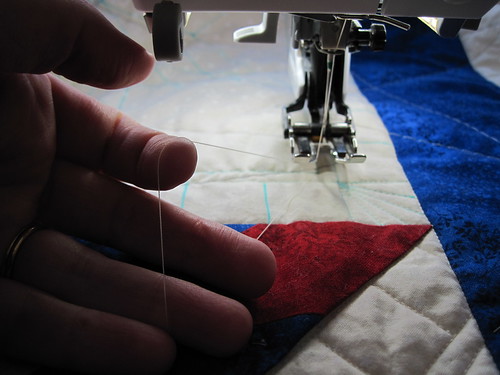
Gently tug on the thread until the bobbin thread comes up. You can see it as a little loop in the picture below. Use a stylus, pin, pencil (pretty much any small tool) and slip it through that loop to pull the thread out from under the needle.
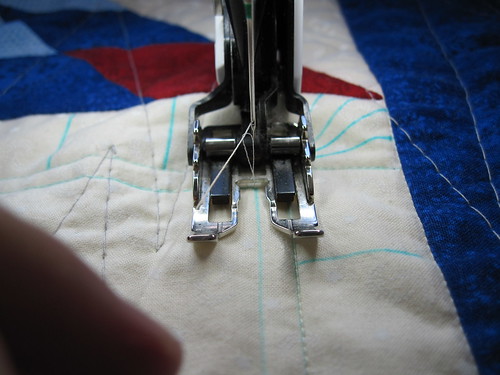
Hold onto both ends of the thread and make sure you have some tension on both of them to prevent them from getting pulled to the wrong side of the fabric.
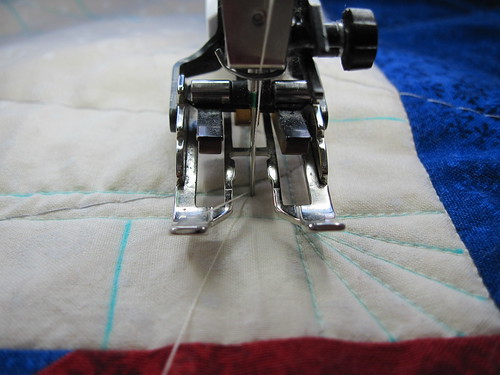
Again, put your needle down in the spot where you want your quilting to start. Put your pressure foot down and hold onto those threads and start stitching. Once you have a few stitches taken, you don't need to hold onto the threads any longer.
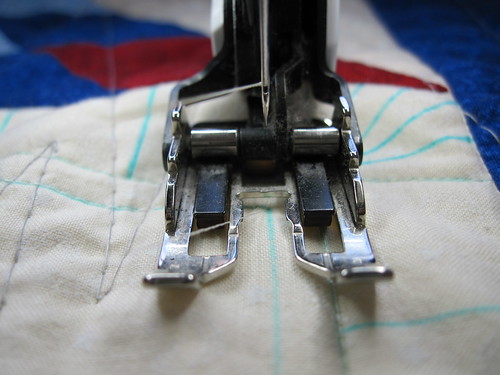
When you get to the end of the line of stitching, we will follow a similar process. When you are the end of stitching, put the needle in the up position, raise your pressure foot and use a small tool of some sort to catch your top thread between the quilt and the needle. Pull that thread to the side and grab onto it with your hand.
While holding that thread, put your needle back down in the last place you took a stitch.
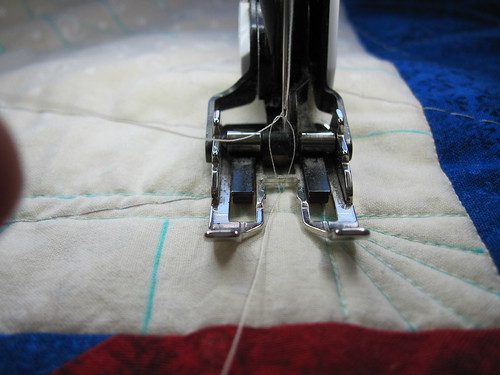
Raise the needle to the up position again and pull gently on your thread. The bobbin thread should come to the top fairly easily. You will want to leave your pressure foot down on this step to prevent the top thread from pulling through.
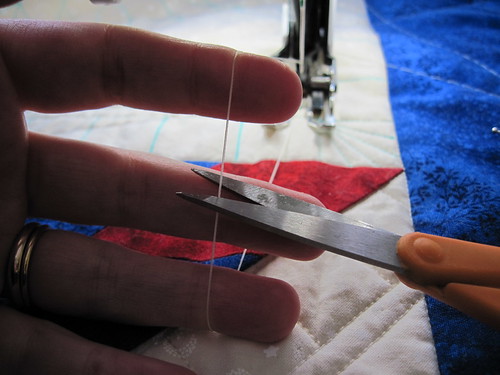
Again, use a stylus or small tool to grab that loop of thread and pull it to the side.
Gather both the top and bottom threads and snip them. Be sure to leave enough thread such that you can tie a knot in it.
Move your quilt sandwich away from the pressure foot and tie a knot close to the surface. You will want to leave a little space so you can pull the thread between the layers of the quilt.
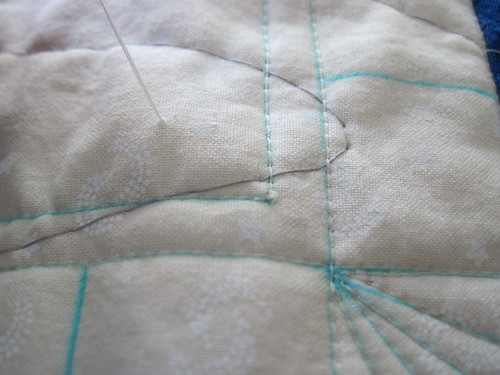
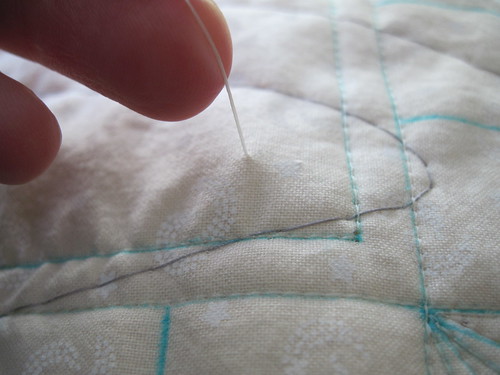
I use a self-threading needle to do this step as it makes it easy to thread. Thread the needle and insert the tip as close as you can to your line of stitching and the point should come up about a half inch to an inch away from your stitching. You will want to make sure you only get your needle under the top layer of fabric. it doesn't need to go into the batting and you definitely don't want it going all the way through your quilt.
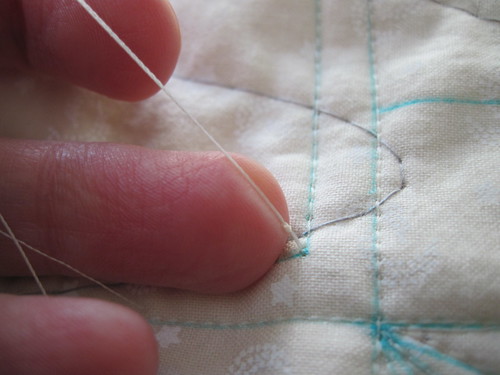
Pull the needle through. If you look closely at the picture below, in the corner of the stitching, there is a little "ball" of thread. That's my knot. Pull gently, but firmly, on your thread and it will pop through the top layer of fabric. You will actually feel a little "pop" when it goes through.
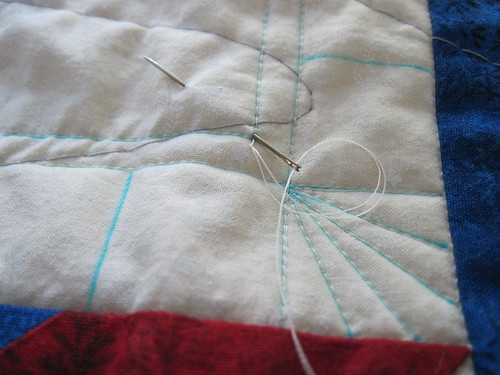
In this picture, if you look at the same corner again, the "ball" of thread is missing. It is buried under that top layer of fabric. Now just snip that thread tail close to the surface of the quilt and you are done.
I hope you found this helpful!
Happy Crafting!
~Sarah at upstateNYCreations
thanks for showing this - I wondered if I was doing this right and I am :)
ReplyDeleteHi Sarah! Glad I found your blog because it's great! Your tutorial above is spot on, and your paint colors in your home look beautiful (pictures in your previous post.)
ReplyDelete