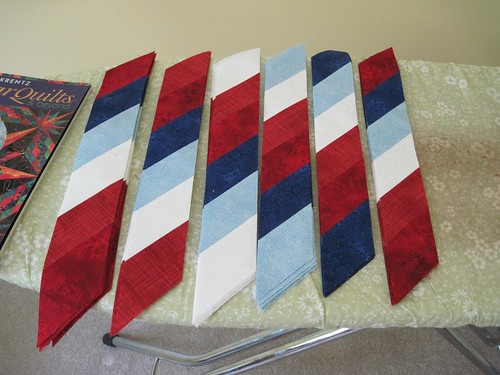
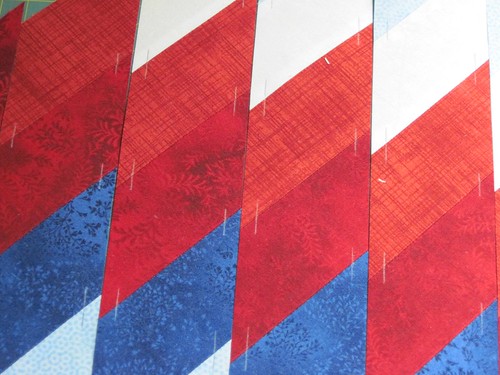
Last time, we left off with having all of the strips cut at a 45-degree angle and laid out in the order needed for assembling the diamonds.
The next step is to mark your seam intersections. Now...I know you really don't want to mark all these strips....but trust me, its definitely worth the extra time to mark everything. I learned this the hard way (don't even ask how many times I had to rip out seams to get these right).
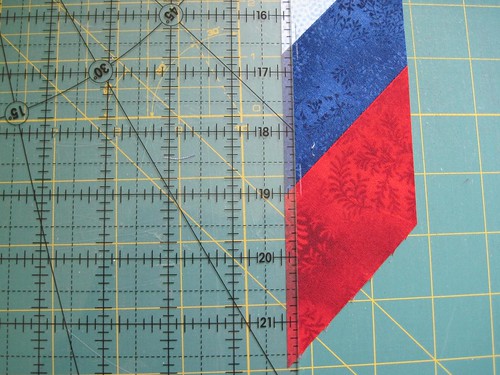
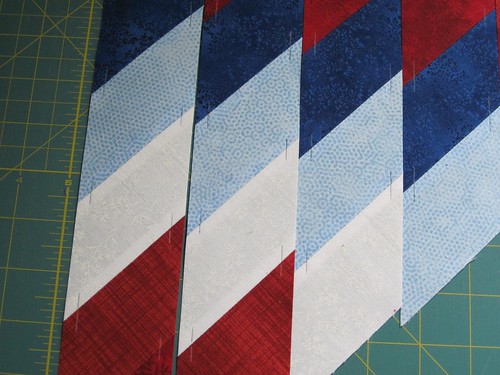
So take your ruler and line up your 1/4" mark next to the edge of the fabric. The key thing is that you want the actual 1/4" line to the left of the fabric as shown in the picture below. This will make sure that your marks aren't visible once you sew the pieces together.
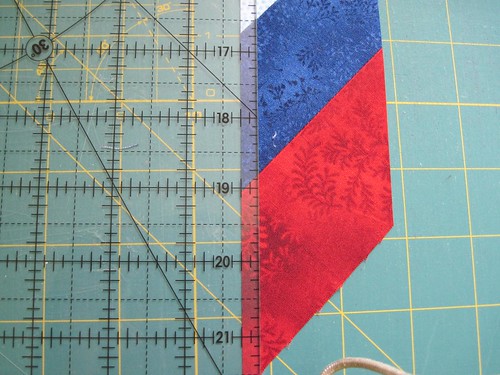
Below you can see where I marked just the intersection points between the fabrics. You don't need to draw a line along the length of the strip. You just need it where a seam exists.
Here's another picture with both light and dark marks (sorry about it being sideways).
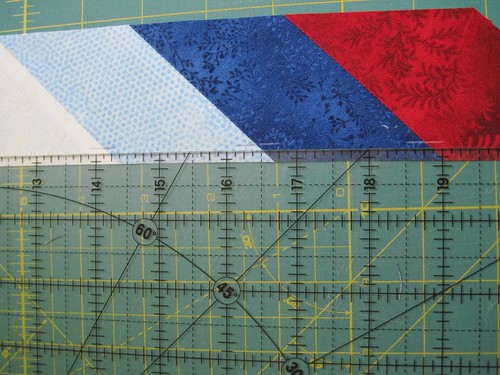
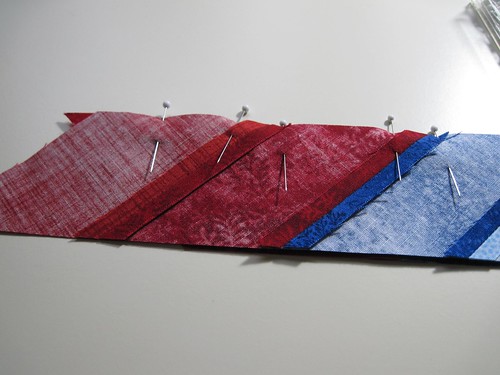
Mark both sides of all of your strips as shown in the pictures below.

Up close showing the seam intersections:
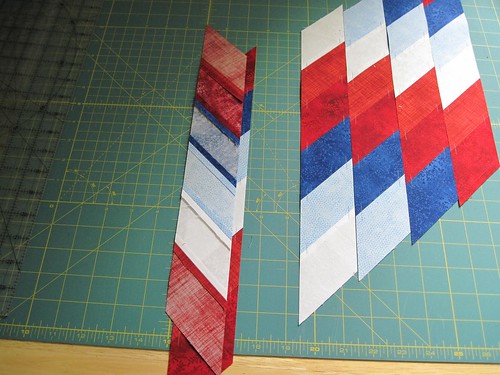
Once you have all your seams marked, take your strip on the right side of a pair, and flip it over the first strip.
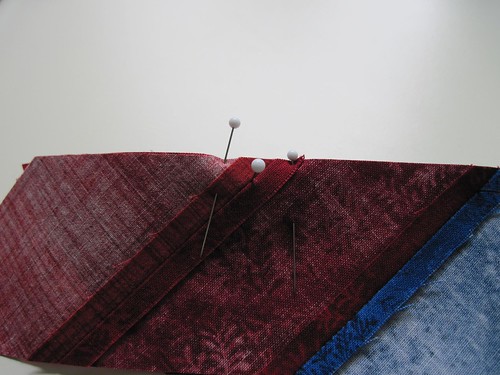
Now its time to start pinning. Take the top strip and place a pin from back to front.
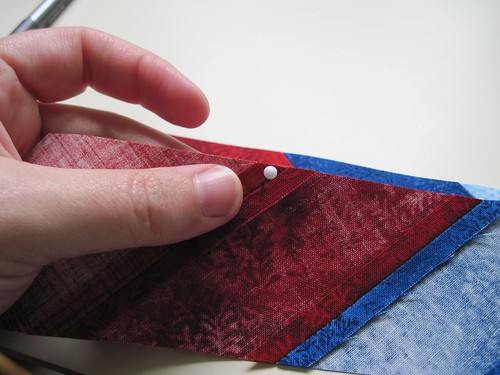
Make sure the point of the needle pokes out through the marked intersection.
Next, with the same pin, but the point of the pin through the marked intersection on the bottom strip.
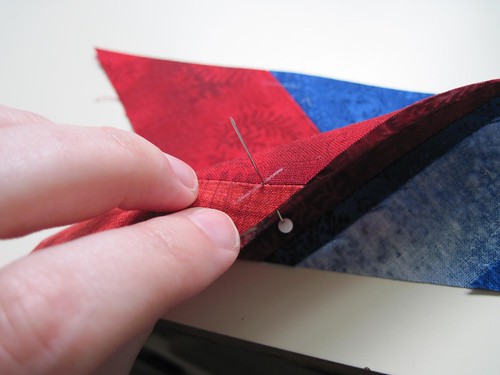
Insert these "vertical" pins through every intersection along the strip.
Once you have all the vertical pins placed, shift the fabric around such that the pin is perfectly straight and the top edges line up as closely as possible. Then take two other pins and pin on both sides of your intersection pin.
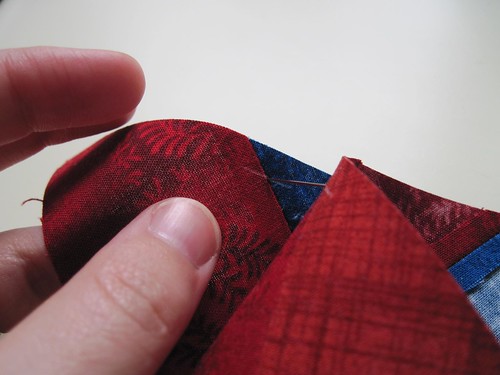
Do this for the entire strip.
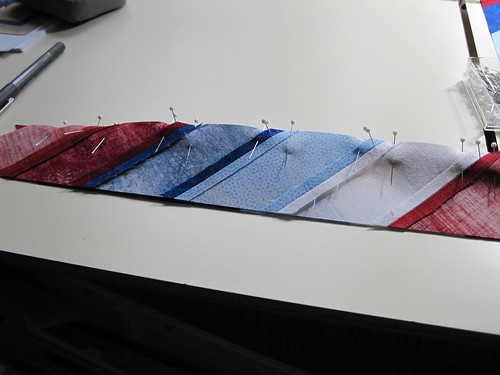
Once you have the second set of pins in place (on both sides of the intersection pin), you can remove the intersection pin. I also placed a halfway between the end of the strip and the first intersection. This is just to help keep the fabrics aligned when I start to sew the strip.
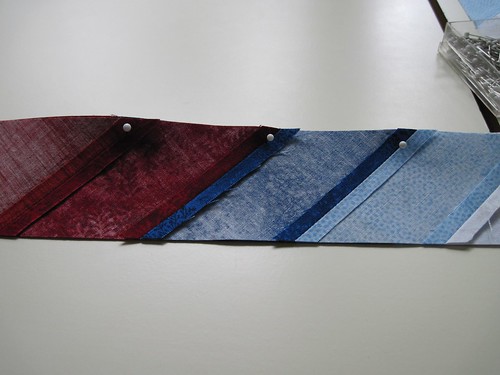
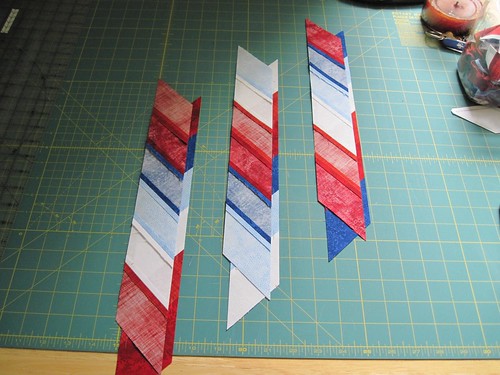
Go ahead and sew all those strips together and remove the pins as you are sewing. Press your seams open and keep repeating the steps above until you have a full diamond sewn together. I don't have a picture of a single diamond together, but just imagine that the pair below are separate. ;-)
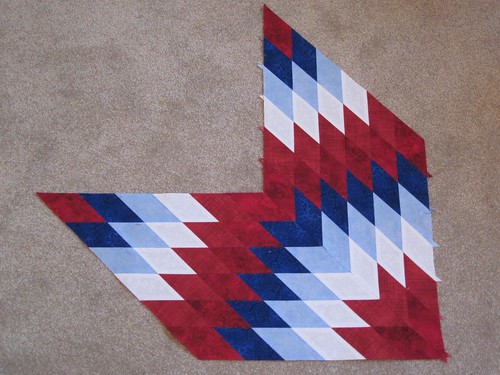
Next week, I'll show how to sew the diamond sections together to achieve the Lone Star shape in the middle.
~Sarah at upstateNYCreations
No comments:
Post a Comment