First off, this thing is awesome! It is a bit on the gadgety side, but it does make a wonderful cup of tea. My first try was with green tea. I'm not a huge fan of green tea, but now that I've made it with the tea maker, I may be doing more green tea. It heats the water to just the right temperature and I think it was the best cup of green tea I've ever had.
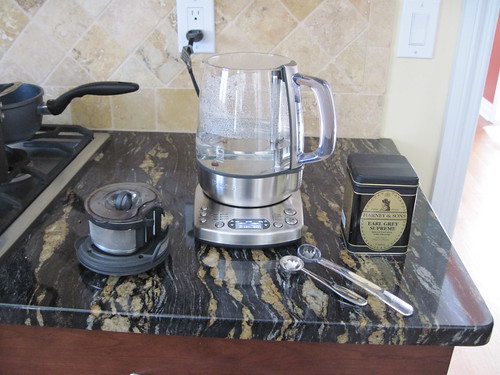
So here's my setup (this time with Earl Grey). The glass container has markings on it for the amount of water to put into it and there's a handy little guide to tell you how much to put in to get a certain number of cups of tea.
To add tea leaves, you measure out the appropriate amount for the water you have and you put the leaves into the little metal basket and then the metal basket gets set onto a slider inside the carafe.
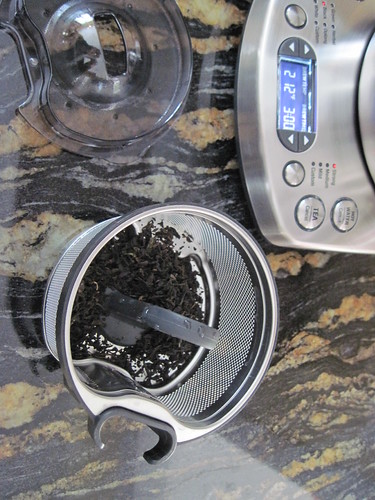
Here it is, ready to start going.
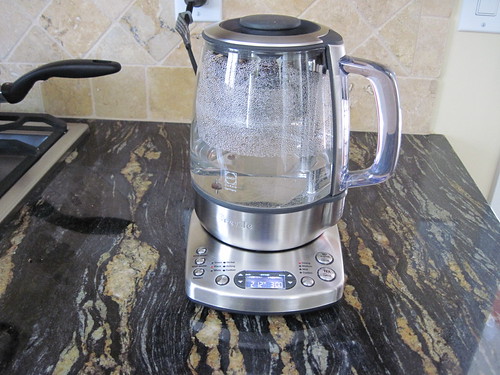
I pressed the button for tea. As the water heats up, it tells you the current temperature of the water.
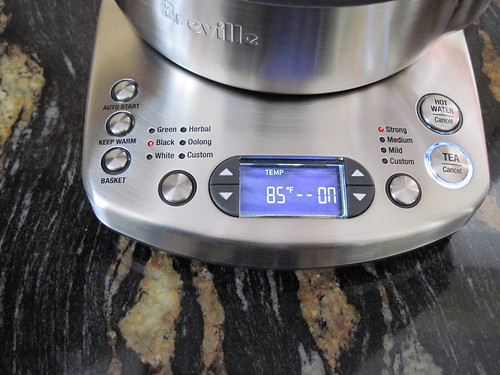
In the picture below, you can actually see the water starting to boil. This tea maker really brings the water to a rolling boil, which is pretty impressive.
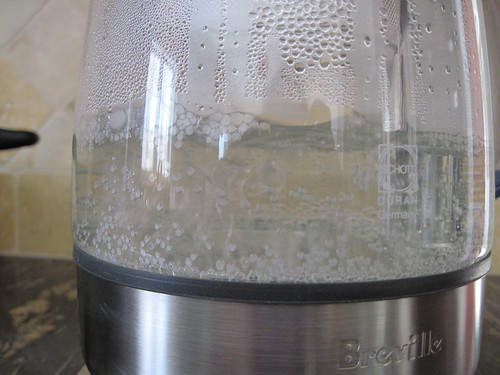
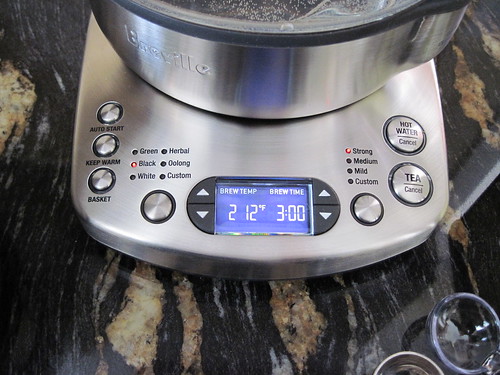
Once the water gets to the appropriate temperature (this case 212F), the basket lowers into the water all by itself.
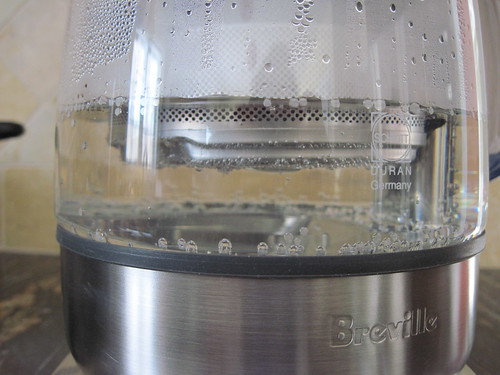
Once the basket is fully lowered into the water, the timer starts for the brewing process.
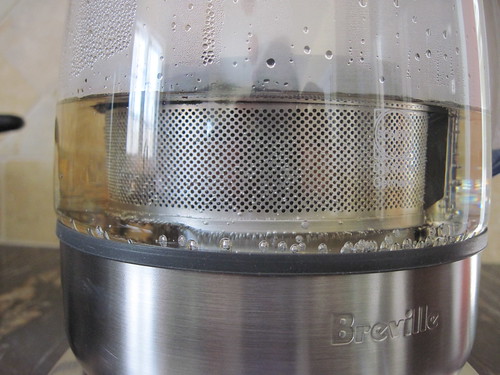
Once its brewed for the set time, the basket automatically lifts up and out of the water. The picture shows it as partially lifted.
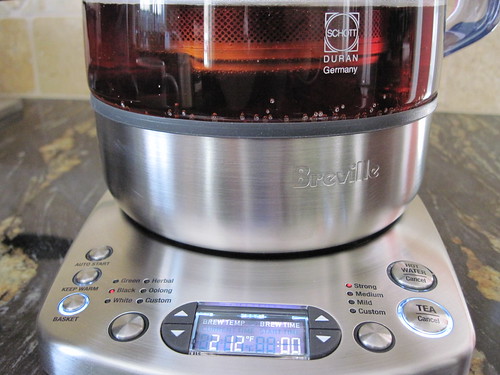
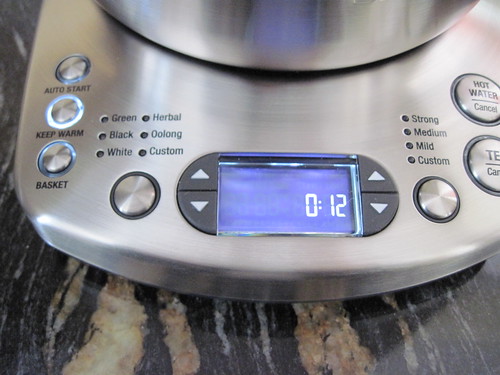
Finally, it even tells you how long the tea has been sitting there since you brewed it. No 4-hour old tea! :-)
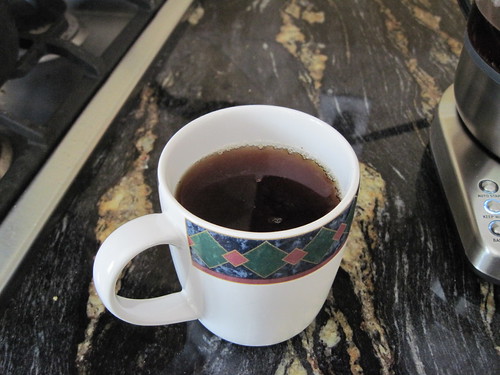
And my yummy Earl Grey all ready for drinking. Yum!
All in all, its a good product so far. I definitely plan on bringing it to work and using it there to make fresh tea throughout the day.
The only complaint I would have is the cord length. They purposely made the cord short so you don't have it dangling off a counter, but its only about 12" long, which doesn't really give it enough length to get out from under my cabinets. I don't like having water boiling right under the wood cabinets since it would eventually cause a problem with the wood. You can use the tea maker with any 3-prong extension cord, which is what I plan to do at work.
Cleaning the tea maker is actually really easy. Just wait for everything to cool off and then rinse out the carafe and tea basket. You can use mild soap on all parts. The basket is even dish-washer safe. They said the easiest way to clean the carafe is to actually remove the basket, fill it up with water and run it on a hot water cycle. It boils the water to 212F and that will kill any little germies that are hanging out. You can also add a bit of vinegar or baking soda to the water before running the boil cycle. If there's a lot of build-up, you can also let the mixture sit overnight after running the boil cycle and just wipe down the inside of the carafe.
As I use this more and get a few months of use out of it, I'll try to remember to do another review.
Happy Crafting!
~Sarah at upstateNYCreations
sounds great - I might look into it
ReplyDelete