It took a little bit to get used to the partial seams, but in the end, it hasn't really been that bad. They definitely aren't as difficult as they seem to be. :c) Here's a quick little tutorial on partial seams for braided designs:
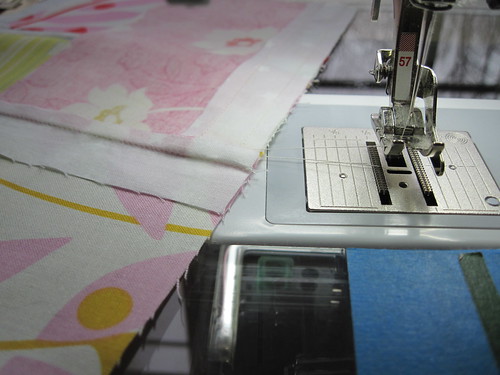
In the photo below, I've already started a column of pieces. The first few blocks follow the same pattern as the other blocks in the column. Take the piece that you want on the "right" of your sewn pieces and line them up as shown.
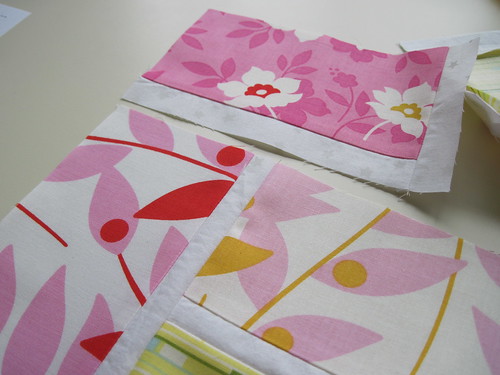
Next, flip the fabric over and align the raw edges.
For this orientation, you start with the seam all the way to the edge of the fabric as shown:
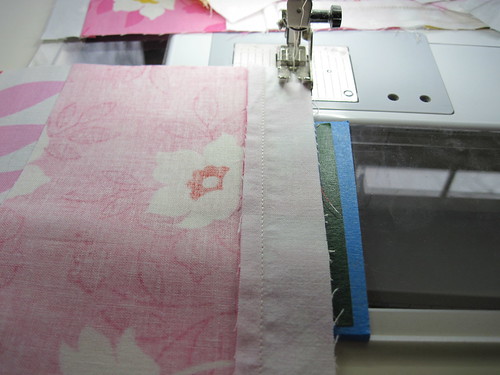
Sewn down the length of the seam and stop about 1" from the end.
Remove the fabric from under your pressure foot. This is a good time to use something from a "leader and ender" project. Simply put set of fabric under the pressure foot and sew the seam and you don't ever have to break the thread. This ends up saving thread in the long run, but I find it also simpler since I don't have to worry about loose thread tails getting tangled.
Lightly press your seam that you sewed. I tend to press the full end heavily to get it nice and smooth, but as you get towards the partial seam end, you don't want to press the fabric much.

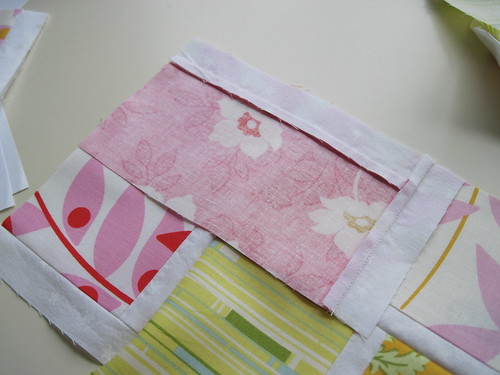
For the next piece, again, align the fabric along the edge of your sewn column.
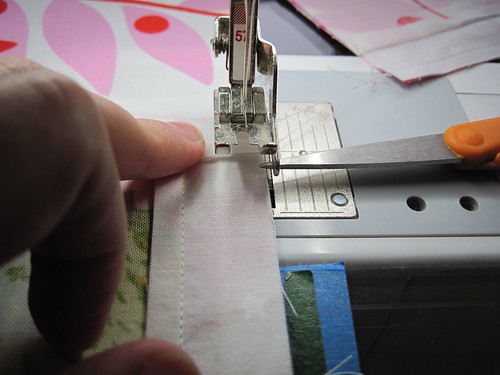
Flip the fabric over and align the seam edges. The scissors below are point to where the partial seam starts.

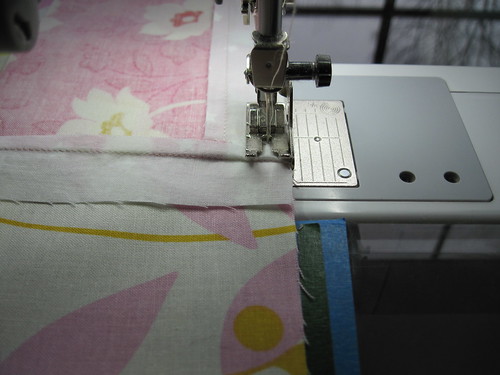
In this case since you want your raw edges on the right, you have to start on the partial seam. Simply start you needle approximately 1" from the edge of the fabric. The scissors are again pointing to the same spot from the picture above.
Sew this seam all the way to the end of the fabric and press lightly as you did before.
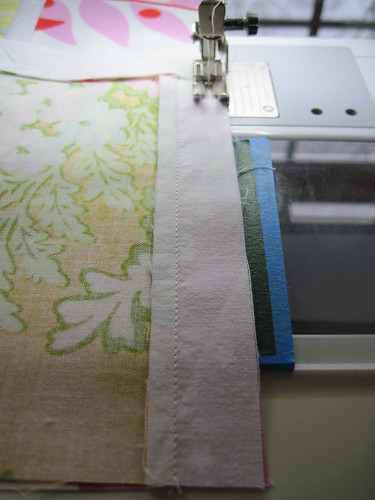
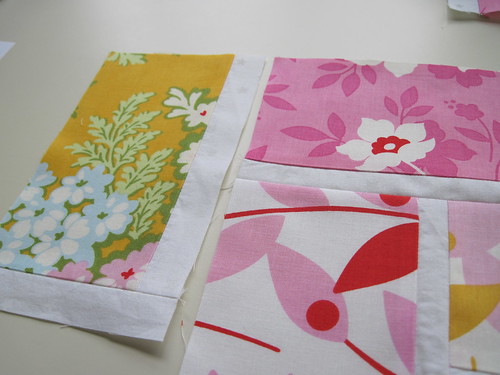
Keep adding blocks using the partial seams until you finish your columns. The picture I have below is 3 columns finished. I have 4 finished now with the 5th one in process and then I'll be sewing the columns together.
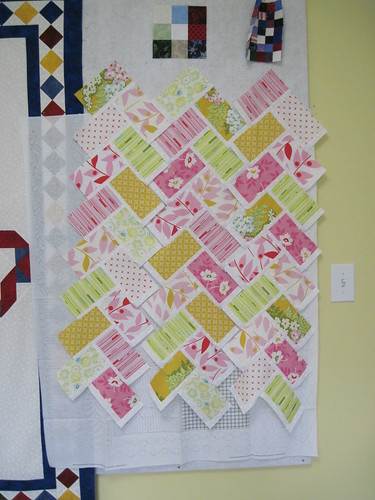
I'll also show some detailed pictures of sewing the columns together since that will be the trickier part with the partial seams.
Happy Crafting!
~Sarah at upstateNYCreations
No comments:
Post a Comment