Once you have your columns sewn together as shown in last post, you'll want to put two of the columns next to each other so you can visualize how they nest together.
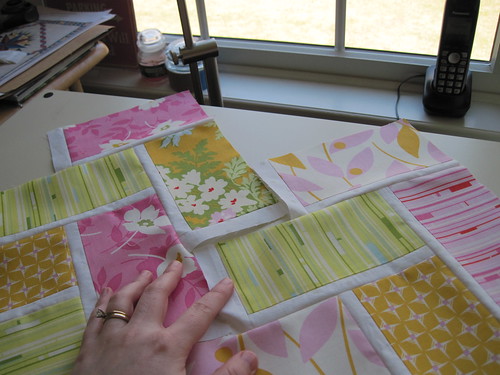
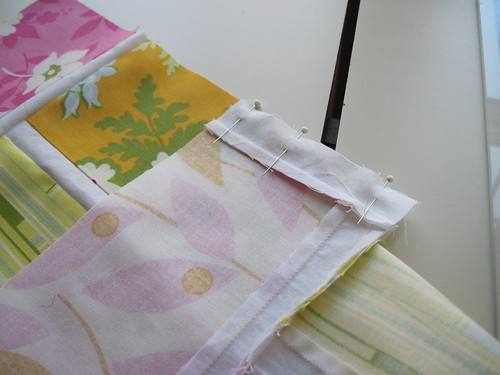
Flip the piece on the right over onto the left. Take a look at the fabric placement in the above photo compared to that in the below photo. The column on the left is stationary, the column on the right is flipped right sides together with the pink/white/orange piece on top of the mainly orange piece from the left. I pin these seams to keep things aligned a bit better as I move things around.
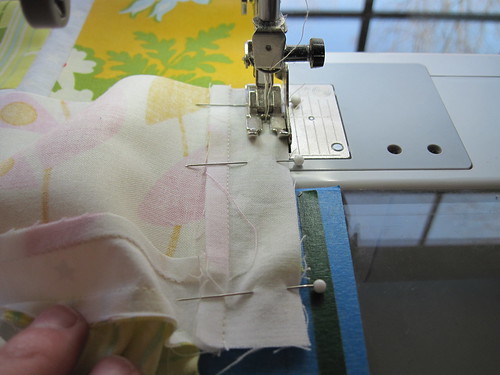
On this top section, you want to start with another partial seam. The picture below shows my stitching line starting about 1" from the edge of the seam. The line is sewn all the way to the free end. This is the only partial seam you will need. The rest of the seams are full seams.
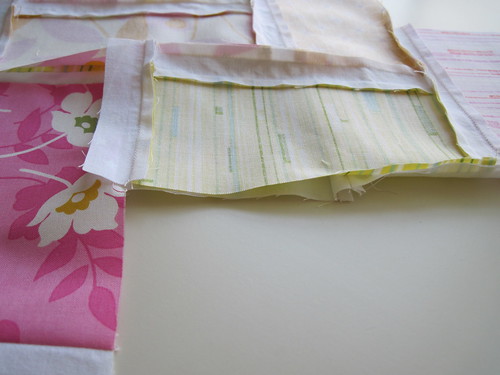
Here is what it looks like after that first seam is completed. The next step is to sew the yellow striped fabric to the free side of the orange piece from the first seam. Again, I've found it easier to pin the seams to keep things aligned.

Here is a picture of the next seam ready to be sewn. The yellow strip piece is now laying on top of the orange piece. Sew this as a full seam.
Keep sewing the seam (all of the full) until you get to the bottom of the column. There's no need to press between each seam you sew. Simply finger press the seams enough to allow you to sew the next seam and then do a full press once you're done with the column. Its easiest to press from the back side first to get the seams going in the direction you want them to go. Once you have that done, you can do a good hard press from the front side.
I don't currently have a picture of the finished columns, so you'll have to trust me that its done. ;c) The partial seams aren't too bad once you get accustomed to the method of doing them. The only downside I found was that there was a lot of stopping and starting. I keep a pile of squares next to my machine for a scrap quilt and used those to maintain my line of stitching as much as possible. So the benefit was that I got a lot of these pieces sewn together when making this quilt. LOL!
Happy Crafting!
~Sarah at upstateNYCreations
No comments:
Post a Comment