Showing posts with label Jambalya. Show all posts

Wednesday, April 30, 2014

More Partial Seams

I'm finally getting around to the continuation of my last post on partial seams.  The prior post can be found here.  These pictures are all from the Jambalaya quilt pattern that I'm putting together with some quarter yard cuts of material that I got a year or so ago.

Once you have your columns sewn together as shown in last post, you'll want to put two of the columns next to each other so you can visualize how they nest together.
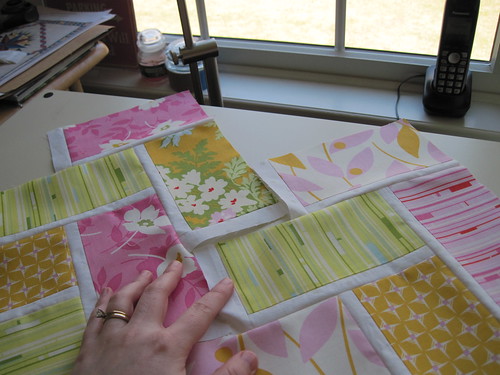
Jambalya 17

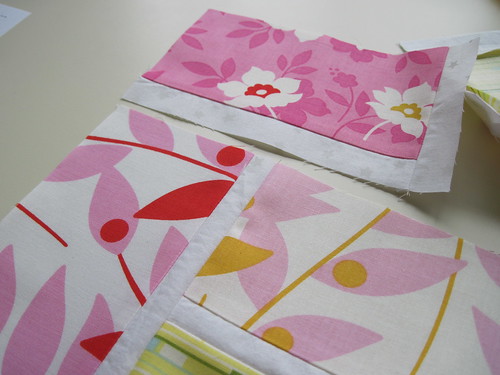
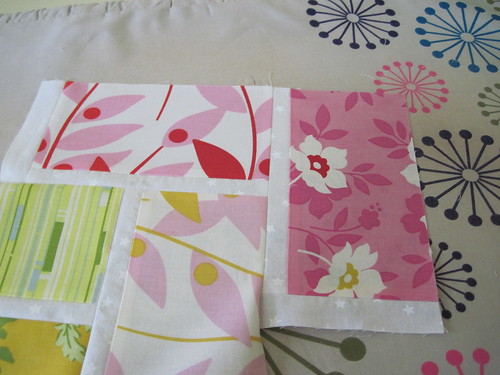
Flip the piece on the right over onto the left.  Take a look at the fabric placement in the above photo compared to that in the below photo.  The column on the left is stationary, the column on the right is flipped right sides together with the pink/white/orange piece on top of the mainly orange piece from the left.  I pin these seams to keep things aligned a bit better as I move things around.
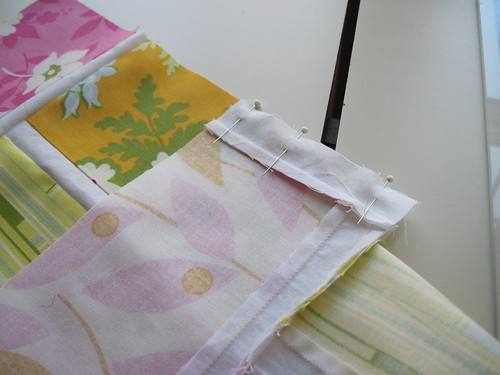
Jambalya 18

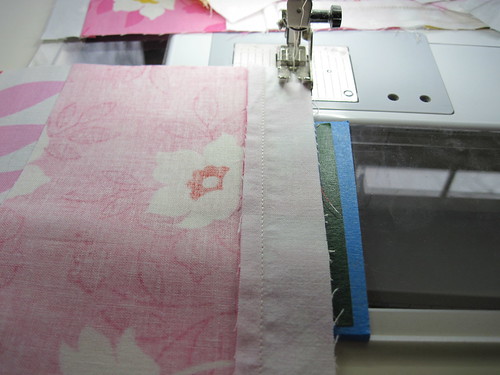
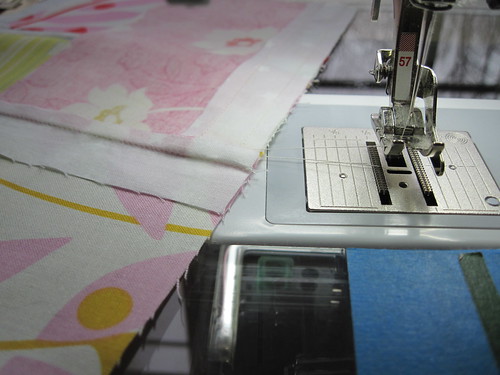
On this top section, you want to start with another partial seam.  The picture below shows my stitching line starting about 1" from the edge of the seam.  The line is sewn all the way to the free end.  This is the only partial seam you will need.  The rest of the seams are full seams.
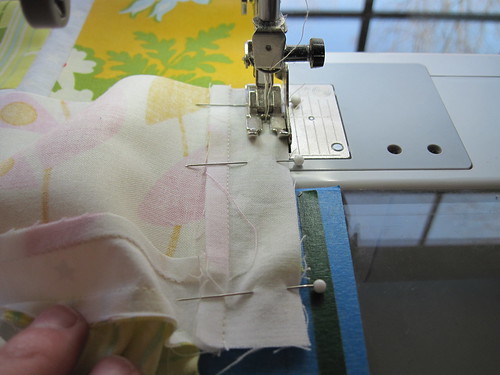
Jambalya 19

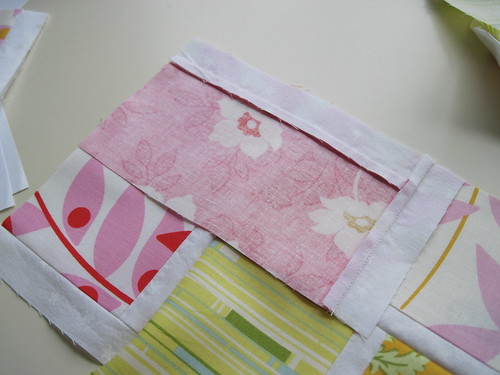
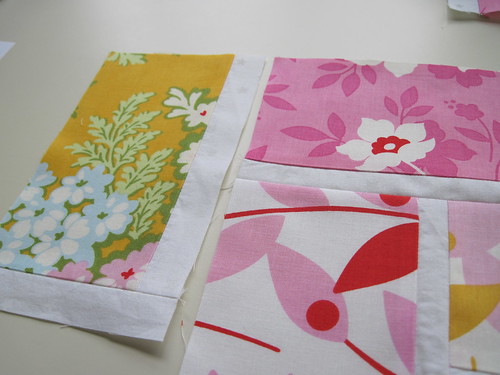
Here is what it looks like after that first seam is completed.  The next step is to sew the yellow striped fabric to the free side of the orange piece from the first seam.  Again,  I've found it easier to pin the seams to keep things aligned.
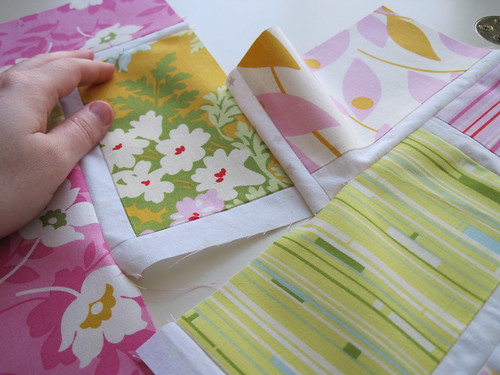
Jambalya 20

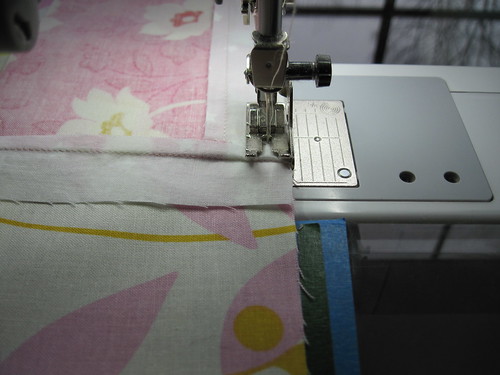
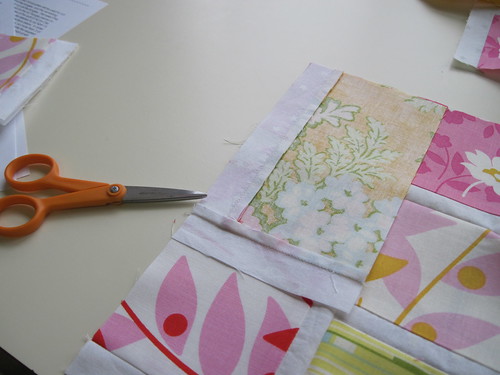
Here is a picture of the next seam ready to be sewn.  The yellow strip piece is now laying on top of the orange piece.  Sew this as a full seam.
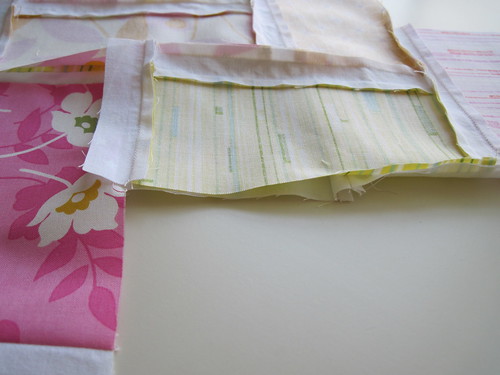
Jambalya 21

Keep sewing the seam (all of the full) until you get to the bottom of the column. There's no need to press between each seam you sew.  Simply finger press the seams enough to allow you to sew the next seam and then do a full press once you're done with the column.  Its easiest to press from the back side first to get the seams going in the direction you want them to go.  Once you have that done, you can do a good hard press from the front side.

I don't currently have a picture of the finished columns, so you'll have to trust me that its done. ;c)  The partial seams aren't too bad once you get accustomed to the method of doing them.  The only downside I found was that there was a lot of stopping and starting.  I keep a pile of squares next to my machine for a scrap quilt and used those to maintain my line of stitching as much as possible.  So the benefit was that I got a lot of these pieces sewn together when making this quilt.  LOL!


Happy Crafting!
~Sarah at upstateNYCreations

Tuesday, April 8, 2014

Partial Seams

When I first started the Jambalaya quilt, I was a little put off by the partial seams.  I didn't realize it was partial seams until after I had purchased the pattern and started reading the directions.  However, I really wanted to make the quilt as I liked the overall design.

It took a little bit to get used to the partial seams, but in the end, it hasn't really been that bad.  They definitely aren't as difficult as they seem to be. :c)  Here's a quick little tutorial on partial seams for braided designs:

In the photo below, I've already started a column of pieces.  The first few blocks follow the same pattern as the other blocks in the column.  Take the piece that you want on the "right" of your sewn pieces and line them up as shown.


Jambalya 06

Next, flip the fabric over and align the raw edges.

Jambalya 07

For this orientation, you start with the seam all the way to the edge of the fabric as shown:

Jambalya 08

Sewn down the length of the seam and stop about 1" from the end.

Jambalya 09

Remove the fabric from under your pressure foot.  This is a good time to use something from a "leader and ender" project.  Simply put set of fabric under the pressure foot and sew the seam and you don't ever have to break the thread.  This ends up saving thread in the long run, but I find it also simpler since I don't have to worry about loose thread tails getting tangled.

Jambalya 10

Lightly press your seam that you sewed.  I tend to press the full end heavily to get it nice and smooth, but as you get towards the partial seam end, you don't want to press the fabric much.

Jambalya 11

For the next piece, again, align the fabric along the edge of your sewn column.

Jambalya 12

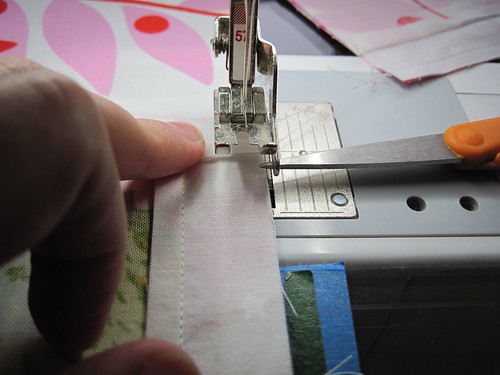
Flip the fabric over and align the seam edges.  The scissors below are point to where the partial seam starts.

Jambalya 13

In this case since you want your raw edges on the right, you have to start on the partial seam.  Simply start you needle approximately 1" from the edge of the fabric.  The scissors are again pointing to the same spot from the picture above.

Jambalya 14

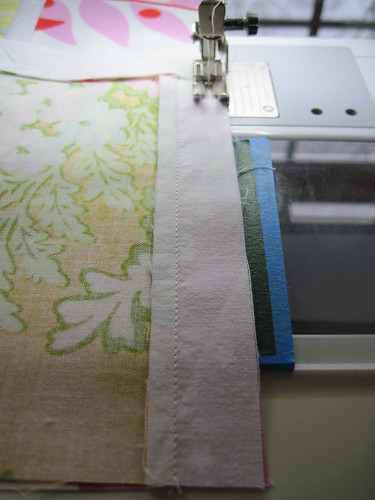
Sew this seam all the way to the end of the fabric and press lightly as you did before.

Jambalya 15

Keep adding blocks using the partial seams until you finish your columns.  The picture I have below is 3 columns finished.  I have 4 finished now with the 5th one in process and then I'll be sewing the columns together.

Jambalya 16

I'll also show some detailed pictures of sewing the columns together since that will be the trickier part with the partial seams.

Happy Crafting!
~Sarah at upstateNYCreations

Sunday, April 6, 2014

Another Project... LOL

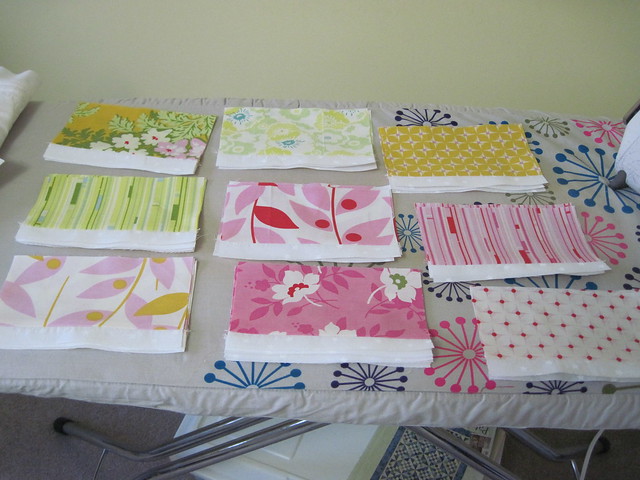
Not that I needed another one, I decided to start a new quilt project this past week.  This pattern is called Jambalaya by Prairie Sky Quilting.  The pattern is designed for using fat quarters, but I used a set of quarter yard cuts that I had instead.  I had a bit more waste that I cut into pieces for other scrap quilts, but it used up some of my stash.

Here is the first set of blocks ready to be sewn.
Jambalya 01

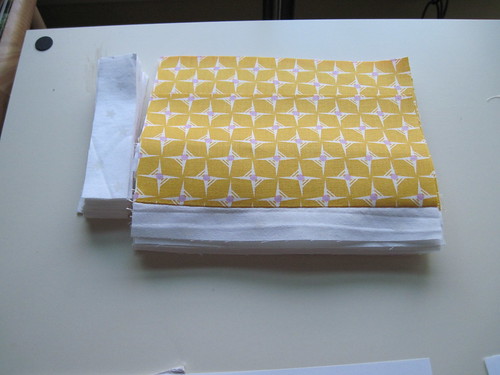
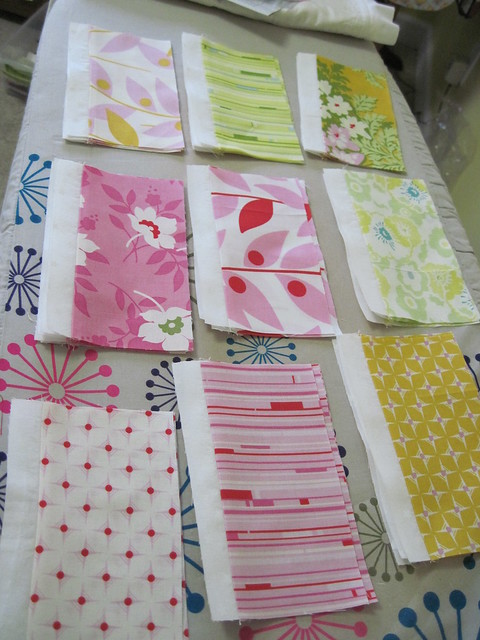
And all of the "plain" blocks required for the pattern.

Jambalya 02


Jambalya 03

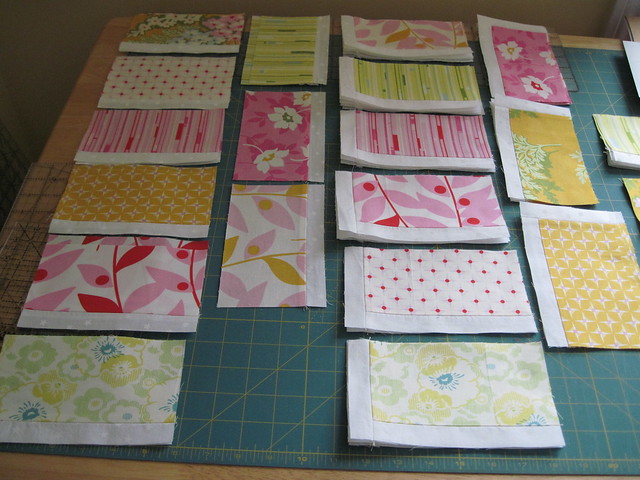
This next photo has the plain blocks and one of the other blocks next to each other.  I ended up spreading them all out and then putting equal numbers of the blocks into the columns for the quilt.  I wanted to have an even mix of all the fabrics.

Jambalya 04

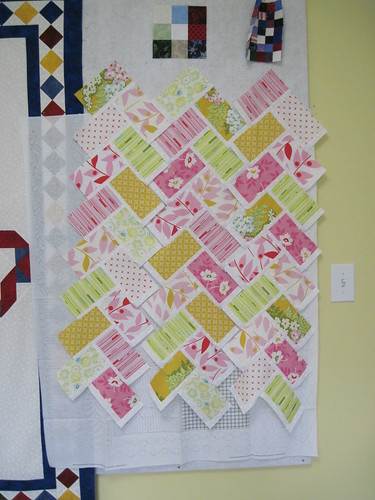
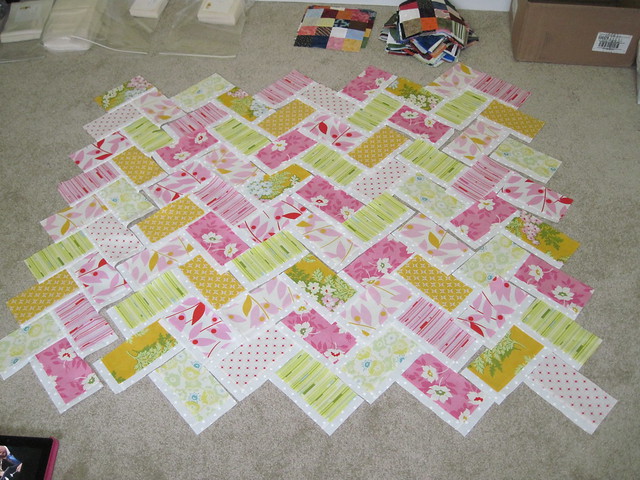
I then laid them all out on the floor so I could make sure I had a good mix of the fabrics.  There were a few fabrics that I had more of the blocks in that particular color, so I had to make sure I was intermixing those so I wouldn't end up with a clump of blocks all the same color.

Jambalya 05

I decided to start this pattern as I wanted to try something new.  This quilt requires partial seams due to the nature of how the blocks align.  So its new to me as I haven't done partial seams before.  I have most of the columns sewn at this point, but I haven't started trying to join the columns together with the partial seams yet.  We'll see how that goes.  ;c)

I hope everyone is enjoying the weekend.  Here in upstate NY, the weather is finally nice.  Most of our snow is gone, though we still have piles of it in certain places.  It is supposed to get up to 55F today with a high later this week of 65F.  We don't have any plants growing yet, but spring is finally here. 

Happy Crafting!
~Sarah at upstateNYCreations