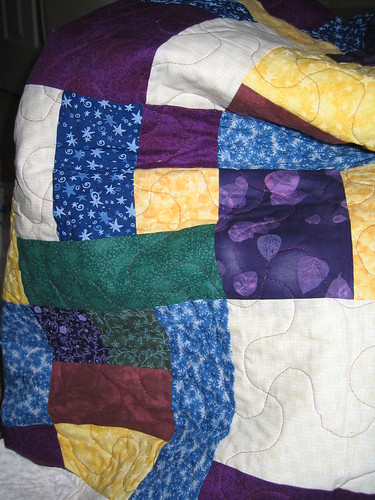
Here is another quilt that I made back in 2008. This quilt was actually made for my older sister. I had wanted to give her something special for her birthday, so I started this quilt. I knew she would like something with purples in it and with lots of color.
Oddly enough, this was the first quilt I ever made where I followed a pattern that wasn't of my own design. The pattern is called Yellow Brick Road by Atkinson's Designs. Its a pretty common pattern these days, especially for new quilters. I think the reason I struggled with it at the time was that I wasn't very confident in my cutting and/or piecing skills and I was very worried that the blocks wouldn't come together properly in the end. Thankfully it did. :-)
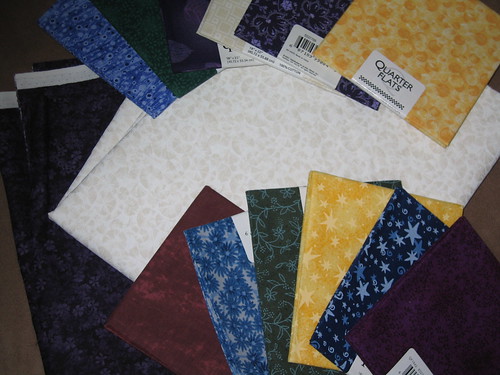
So here's the fabric that I purchased for the quilt all laid out on the floor. Most people I showed the fabric to didn't like the combinations, but somehow in my head, I could see the finished product and knew they would all work together. I still have pieces of the dark purple yardage on the bottom as well as bits of the seashell yardage.
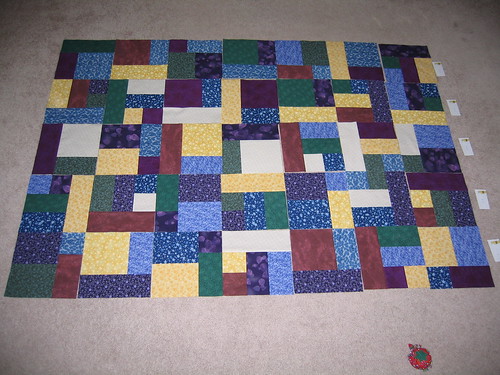
After following the pattern for cutting and piecing directions, here's all the blocks laid out on the floor. There were a few leftover blocks from the pattern so I was able to mix and match the various blocks to get a pleasing design. It took a while to get the mix just right, but it definitely helped to lay everything out on the floor. Laying it out and photographing it actually gives you a really good view of the quilt and you can see areas where you may want to shift things around before you finalize the design.
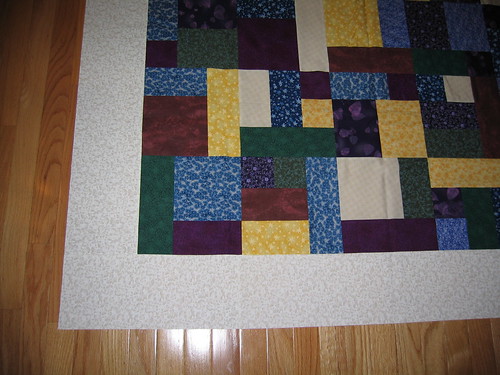
Once all the blocks were pieced into rows, the seashell fabric was used for a nice solid border to anchor the design.
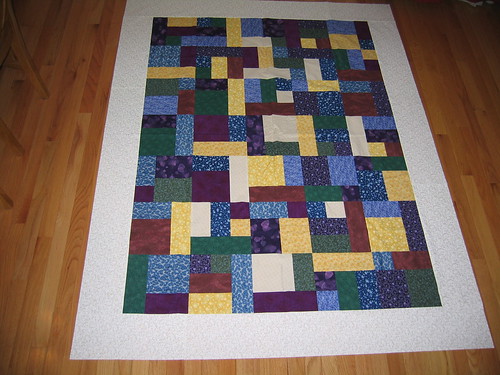
Here's the larger view of the pieced quilt top.
I did my own quilting on this one, too. The middle section was done by tracing the quilting pattern onto Golden Threads' quilting paper and then pinning it to the quilt. This was pretty time consuming as was tearing the paper off. I'm definitely glad I don't have to do that anymore. I sometimes do it for individual blocks, but I've also gotten more confident with marking on the quilts and being able to get the marks out.
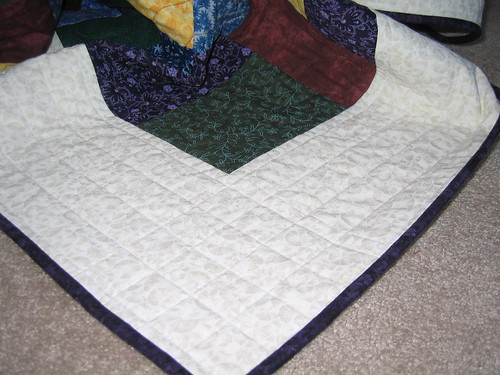
The border was quilted in straight lines to offset the curved quilting throughout the main portion of the quilt.
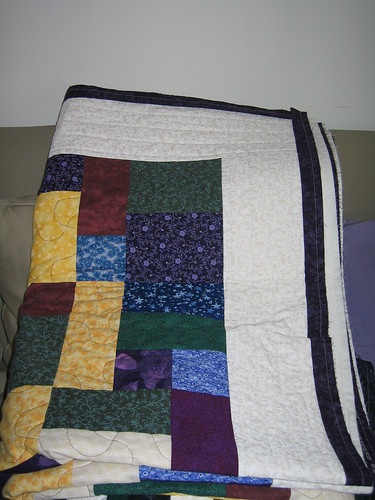
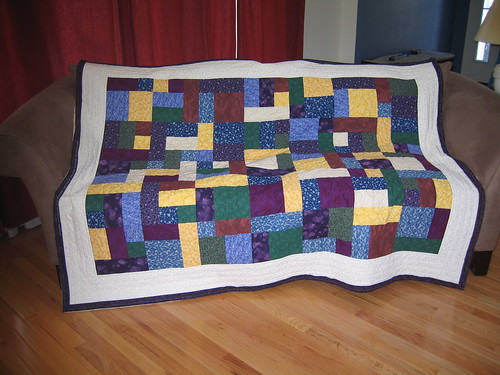
Here's where you can see the whole thing on our couch. It was a fairly large quilt, but is considered a lap-sized quilt. I believe it was somewhere around 57 x 75 or something like that.
Here's a few attempts at getting pictures of the quilt draped over different objects. Some photos were successful....others not so much. :-)
This one shows the straight-line quilting in the border. I continued the straight lines right to the corner so the very corners of the quilt has little 2" boxes.
My sister really liked the quilt and it worked really well with the other colors in her condo. There's nothing quite like cuddling under a nice warm quilt after a long day at work. :-)
Happy Crafting!
~Sarah at upstateNYCreations
adidas Marathon 10 Shoes (Grey/White/Wonder) - Women's Shoes - 5.0 M (Google Affiliate Ad)

No comments:
Post a Comment