Last week we had our pool table delivered and installed. I couldn't take time off from work, so I made my husband take some pictures. He didn't take as many as I would have liked, but its enough to see what the table looks like all taken apart.
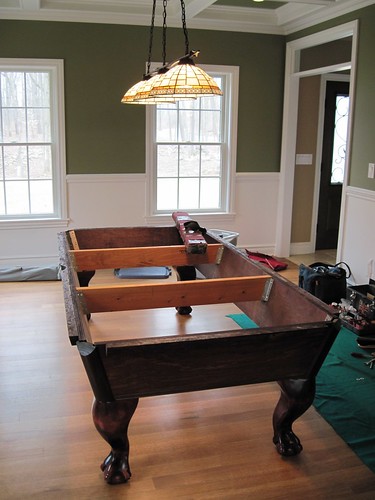
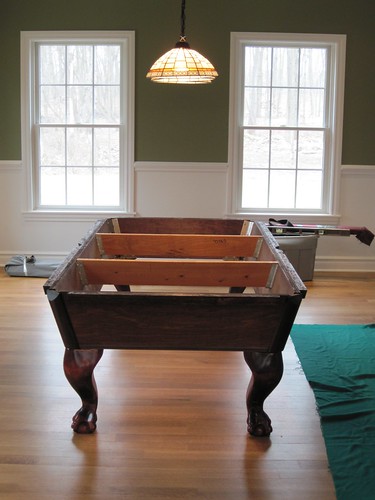
So first they bring in just the frame of the table and there's no side rails, pockets or slate on it.
Before adding the slate pieces, they position the table where you want it in the room and make sure that it is level. Somehow with the combination of our floors and the leg heights, the table ended up being perfectly level. Sometimes they have to put shims under the legs to make it level, but this case they didn't have to.
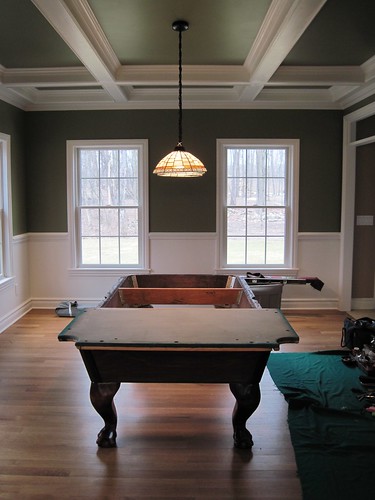
The slate pieces actually come in three separate pieces. The installer positions the slate in place...
They adjust each piece individually to make sure the slate pieces are level. They then use bondo to tie the pieces together and create a smooth surface.
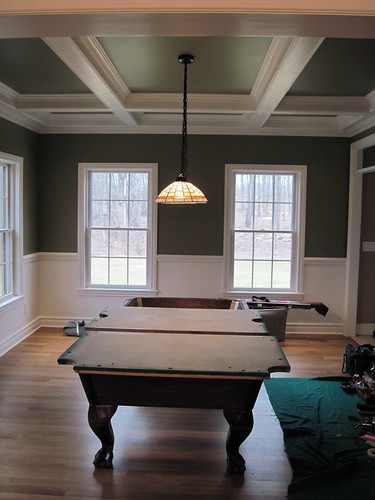
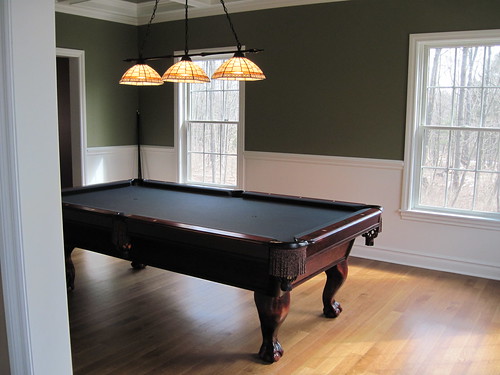
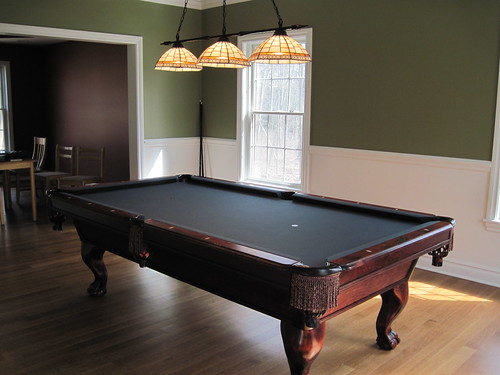
This is where the hubby stopped taking pictures, so I don't have anything that shows how they wrapped the felt around the pieces of slate or installed the rails. Oh well. Here is the table completely finished and in-place in the room.
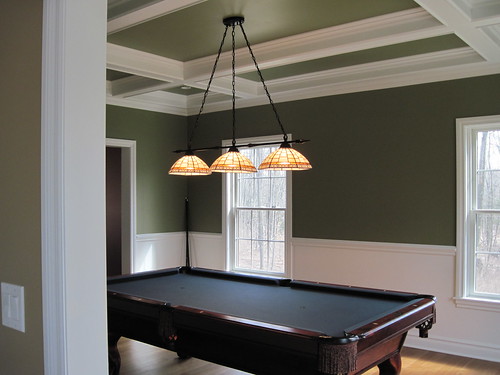
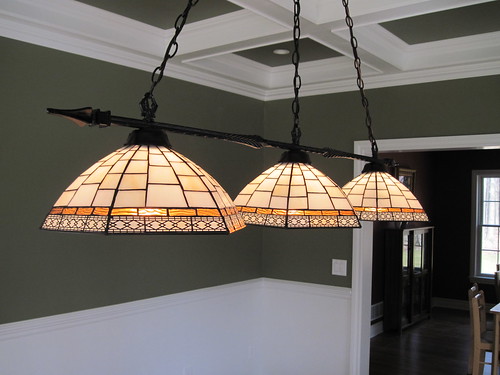
I was also able to get a good picture of the light we have above the table. Apparently the key to taking pictures of lights is to turn them on and take the picture during the day. You can get the light coming through the glass, but its not bright enough to cause problems for the camera.
We've been playing pretty much every evening, so the table is definitely getting a workout already.
Happy Crafting!
~Sarah at upstateNYCreations
No comments:
Post a Comment