I didn't take pictures for the first seam that I sewed on these blocks, but thought I'd give a little tutorial on what I found worked for me while making these simple blocks.
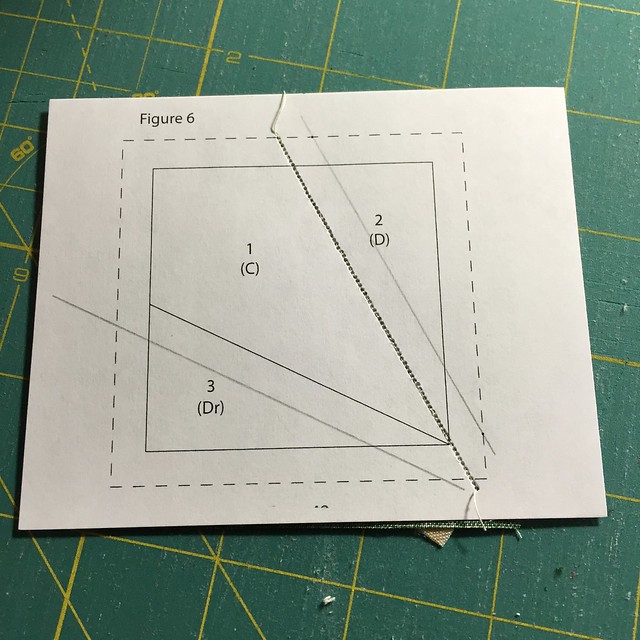
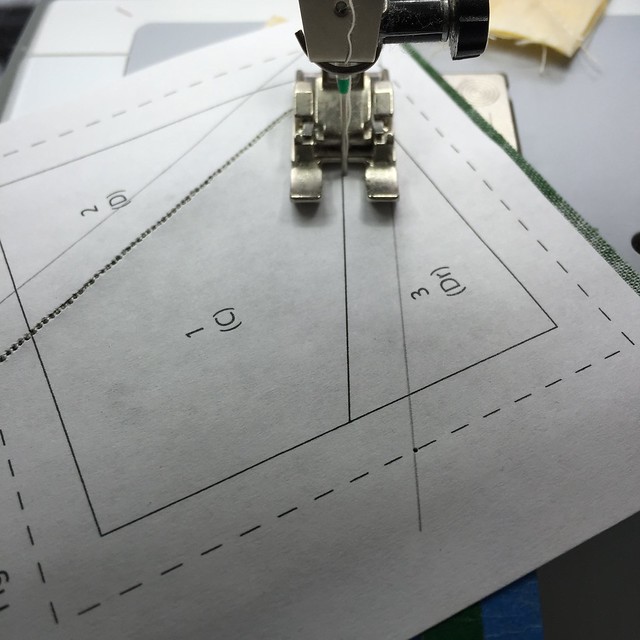
This is the paper side of the block that I needed to make. The solid, angled lines are the stitching lines (one is already stitched) and I drew 1/4 lines to help with my fabric placement.
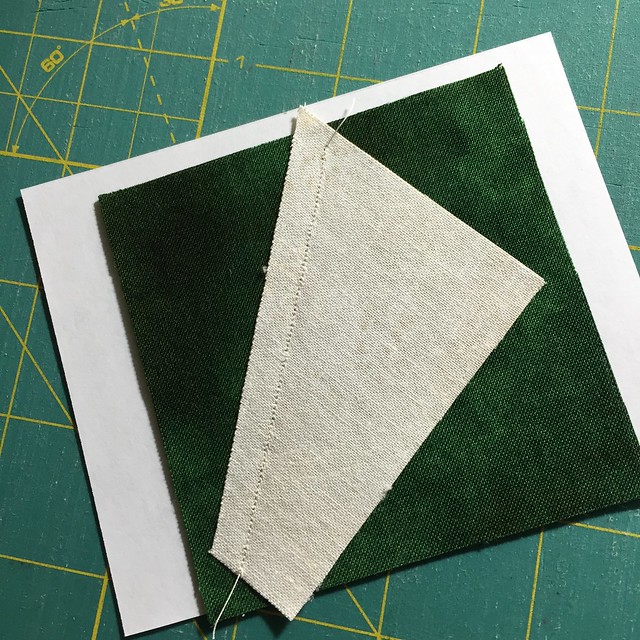
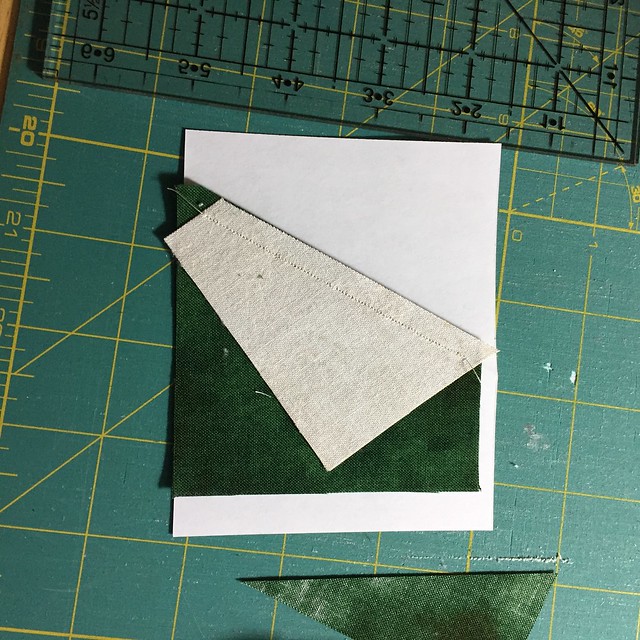
After sewing the first seam with fabric in place, flip your block over so you have the fabric facing up.
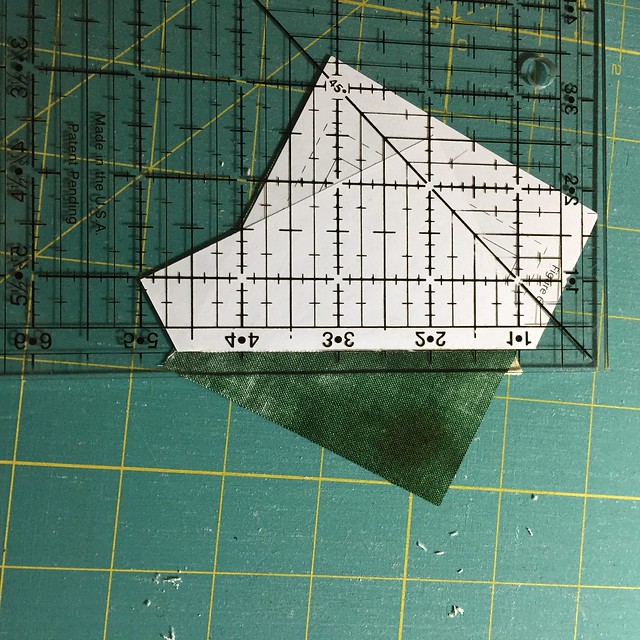
Fold the paper back along the stitched line and line up your ruler leaving a quarter inch between the sewn line and the edge of the ruler.
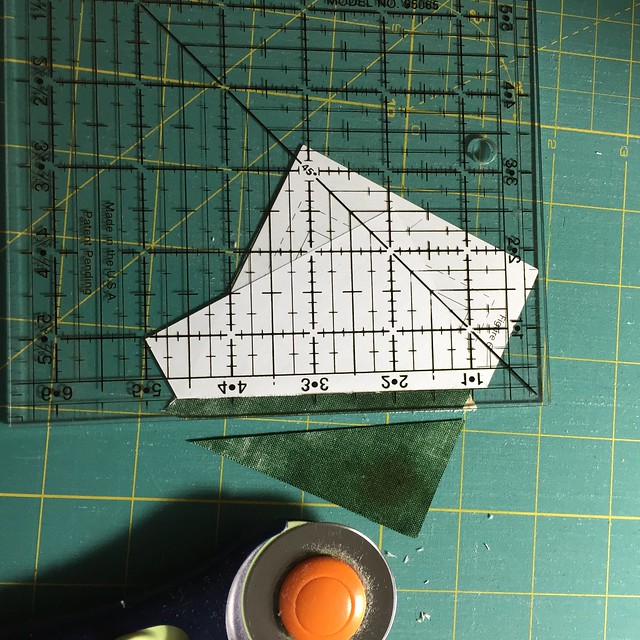
Cut along this line to remove the excess fabric that isn't needed.
Flip everything over again and press your sewn fabric open so it all lays flat.
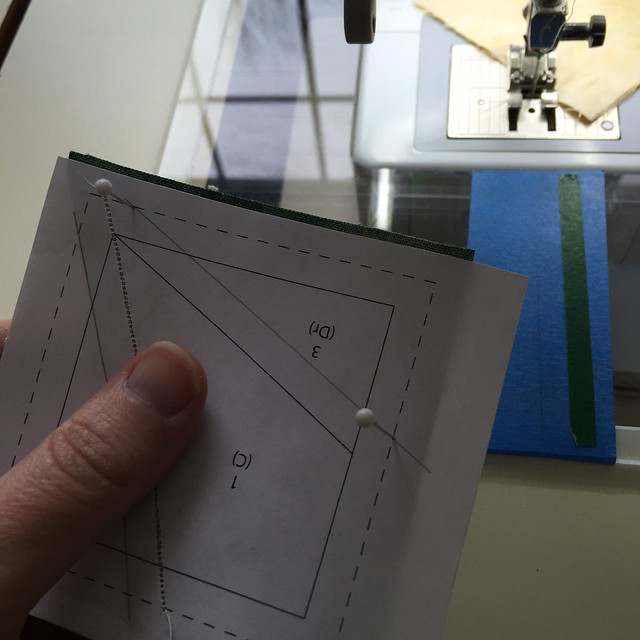
This is where I made my own little trick for getting the fabric placed correctly for the next sewing line. On the paper side, place pins at the intersection points of your drawn line and the outer edge of the block. I use the pin placement to guide where I want my fabric to be.
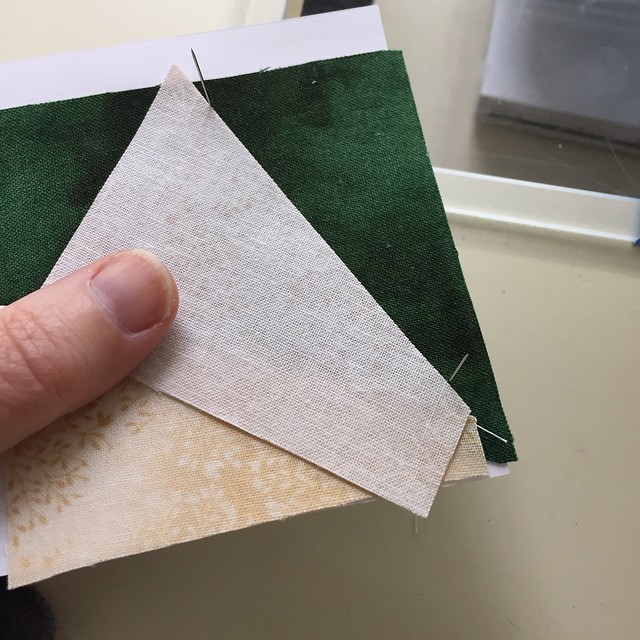
When I flip it over, I can see the pins sticking up and I place the edge of my next piece of fabric right next to those pins. This makes sure that I have at least a quarter inch of fabric for my seam. I then carefully full out the pins without shifting placement of the loosen fabric. This gets placed under the pressure foot of my machine and I start sewing.
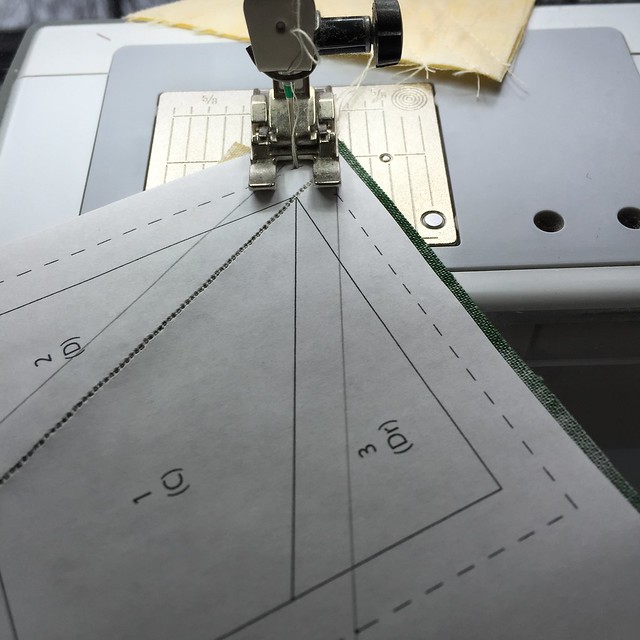
Line up your needle with the edge of the block and approximately in line with your sewing line. Some people start right at the edge of the final block, but I found starting in the seam allowance made pressing easier for me afterwards.
Sew down the solid line with your needle JUST to the right of the sewing line (towards to the seam allowance). Sewing just off the line will allow space for your fabric to fold over the sewn line when you press it.
Similar to the initial steps, fold back the paper, trim your seam allowance and then press your block open.
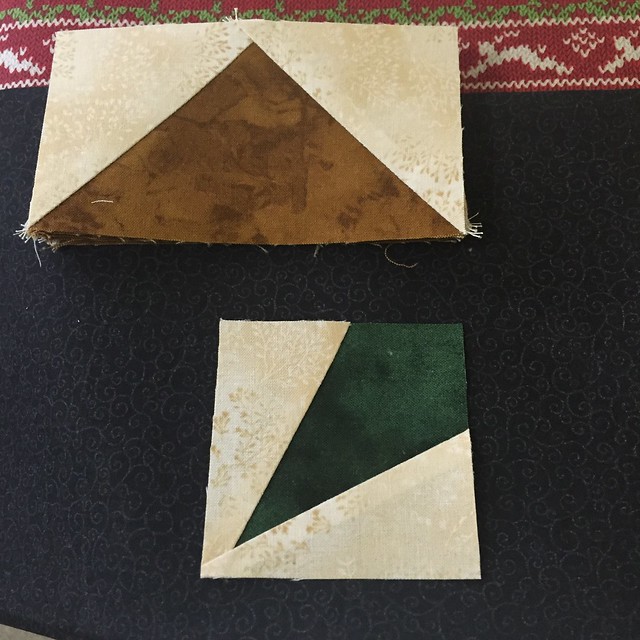
The cream/green block above is the final result of my paper piecing. I had 48 of these blocks to make, which took a while, but they look great in the end.
Happy Crafting!
~Sarah at upstateNYCreations
Sarah, do you sew a block at a time, from start to finish as pictured here or do you do a bunch of the first seams, make all of the first cuts then move on to the next seam.
ReplyDeleteI would think that you make a few initial full blocks to make sure everything is working as it should, but then how does it progress?
Not that speed is your ultimate goal I just find that I tend to break things down into batches of steps. I guess I have an assembly line mind?
I love seeing your tutorials!
I typically do one or two blocks at a time initially to make sure the block turns out the way I want it to. Once I'm sure I have the process down, then I'll do it like an assembly line.
DeleteI did break it up into chunks a little bit. Since there were 48 blocks, I worked on them in sets of 12 to make my math nice and even (my OCD side). Plus, then I had something to show for the end of my efforts... not just a bunch of half-pieced blocks, but at least some that were completely done. :)