Showing posts with label quarter square triangles. Show all posts

Tuesday, May 20, 2014

Sampler Quilt

Again, it has been a little while since I've posted again.  I've been slowly making progress on a few projects as well as getting outside to get the garden started.  Its finally warmer here, so I've been spending my weekends outside doing yard work.  We spread pellets onto the lawn that are supposed to repel/kill ticks and other little bugs.  So hopefully the tick population will stay in the woods and not stick to us anymore! :c)

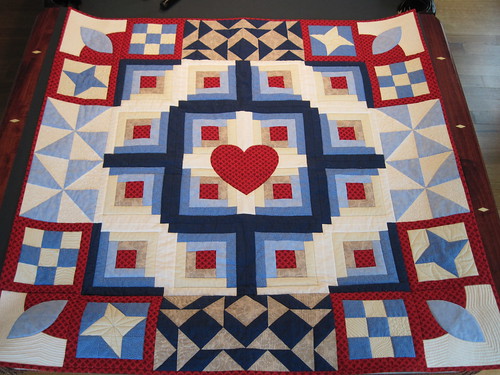
A few weeks back, I did finally get pictures of this sampler quilt that I did as part of a quilt class 3 years ago (yikes!).  I took the class mainly to meet a few other quilters, but also learned a few techniques while I was there.
Sampler 01

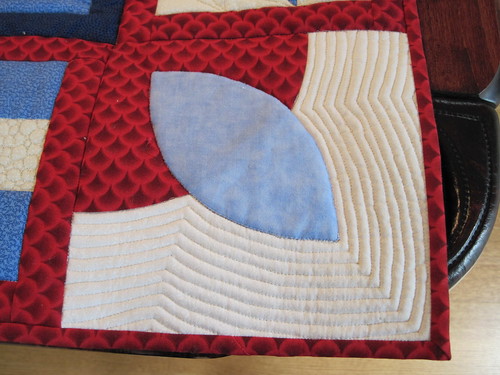
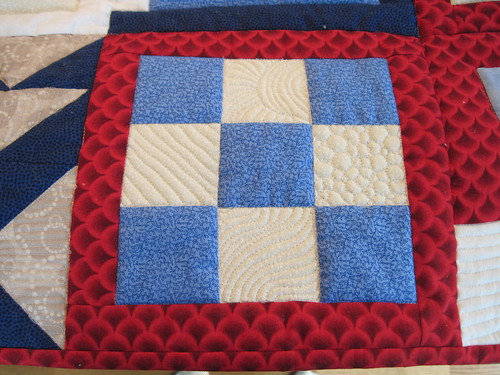
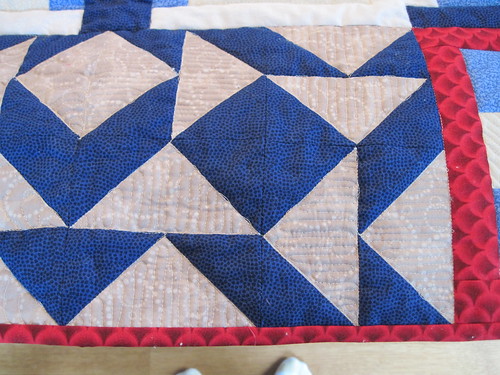
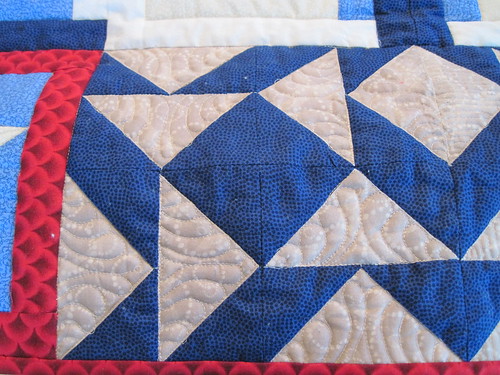
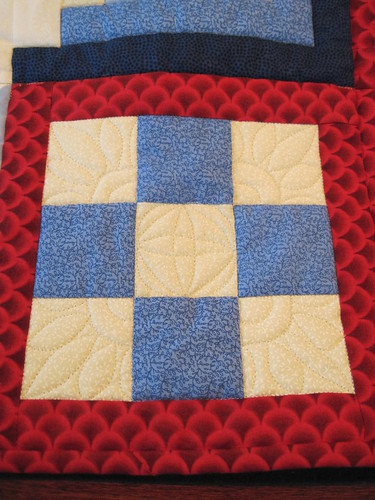
When I started quilting this, I wasn't quite sure how to do it, but then decided to just make it completely a sampler.  Most of the blocks have different quilting in them, but I did anchor the four corner blocks by doing the same quilting in them.

These are basically just echo-quilted around the appliqued shape.

Sampler 02

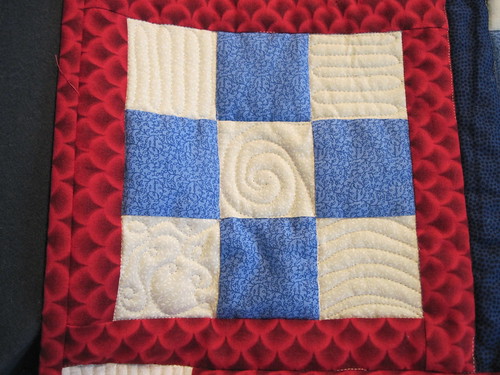
This one has four different styles in each of the white spaces:

Sampler 03

My attempt at keeping lines fairly straight without marking anything...

Sampler 04

And this is probably the most ugly.  My "feathers" are pretty atrocious.  They look more like amoeba or something like that.  I'm definitely going to have to practice my feathers a heck of a lot more!

Sampler 05


Sampler 06


Sampler 07

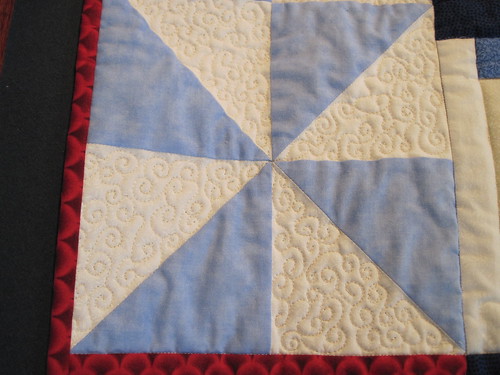
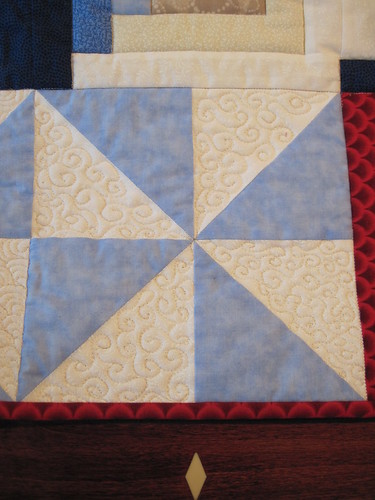
I actually like how these swirly shapes turned out.  The little curlicues are neat and give a lot of texture to the quilt:

Sampler 08

This one was also a lot of fun.  It was a little messy at first, but as I got used to it, I was able to find a rhythm that worked for me...

Sampler 09


Sampler 10


Sampler 11

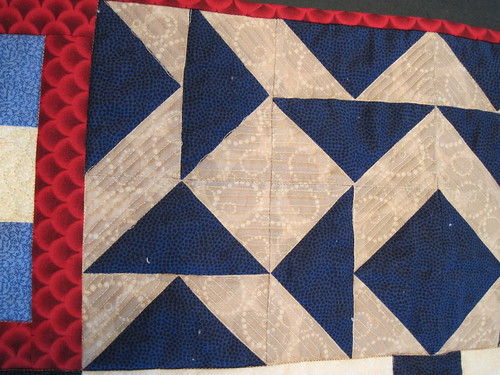
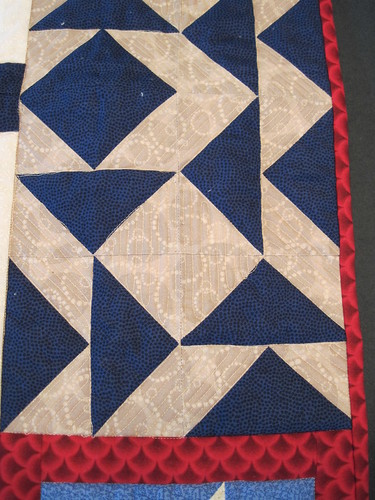
More straight lines that were done parallel to the triangles for the flying geese.  These lines are a lot better than the first ones...

Sampler 12


Sampler 13

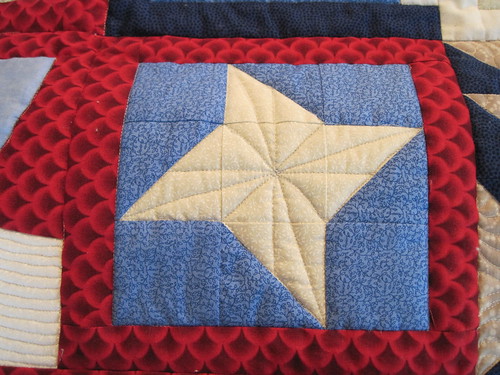
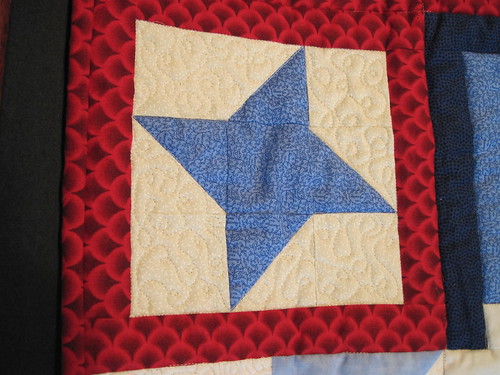
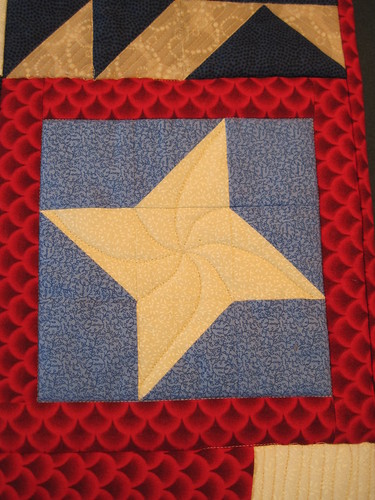
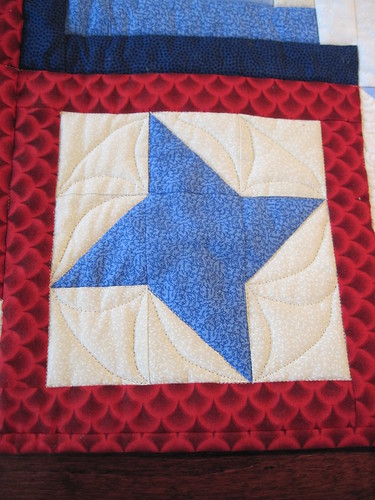
I really like the quilting on this friendship star block.  It has just enough spin to it that it makes it flow a bit and reminds me of ninja stars.

Sampler 14


Sampler 15

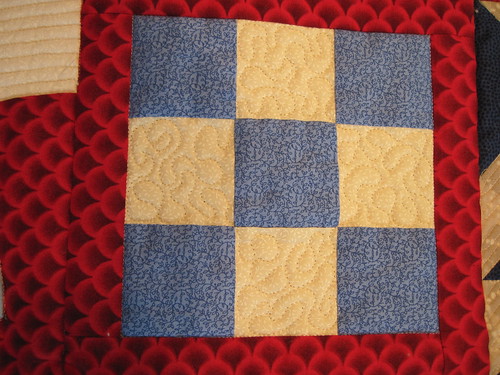
More evenly spaced curlicues....

Sampler 16

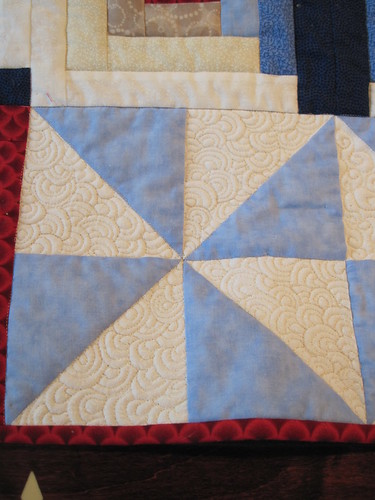
Same with the dense filler... better the 2nd time around...

Sampler 17

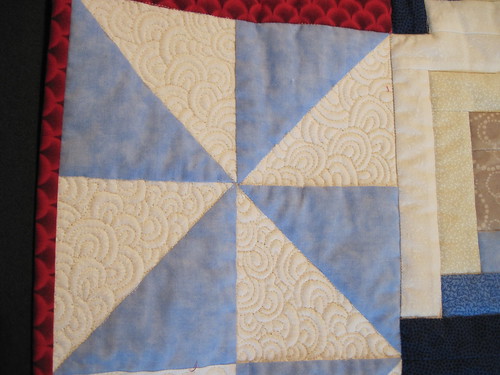
More flowing arcs in a reverse friendship star block. 

Sampler 18

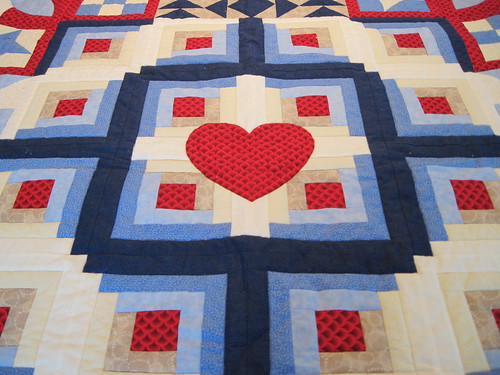
Its hard to see the quilting on the center area with the log cabin blocks, but I basically stuck to in the ditch quilting.  I did some free motion on the heart, but I couldn't get it to photograph since its red thread on red fabric.

Sampler 19


Overall, I liked this quilt and being able to use sample quilting on the different blocks.  It allowed me to try out a bunch of different things in the blocks to see if I liked anything and where I need to practice a bunch more.

Hope everyone is enjoying their spring!

Happy Crafting!
~Sarah at upstateNYCreations

Monday, January 6, 2014

Mariner's Compass Progress and Needlepoint

I've been making more progress on the Mariner's Compass quilt.  The setting triangles are now in place and the quilt is very square and very flat, which is a little bit of a surprise.


I also started making the 80 square-in-square blocks that are in the pieced border for the quilt.  I did two test blocks before I cut everything and they came out just right.  I love seeing the stacks of fabric waiting and ready to be sewn. :c)


I also did some needlework this past week and finished up another page on this pattern.  I've now completed 12 pages and am a little over 1/3 done.  Its going to be quite a while before this puppy is finished!


Happy Crafting!
~Sarah at upstateNYCreations

Thursday, January 2, 2014

Mariner's Compass Progress

 Just before the Christmas break and a little bit during, I was able to spend some quality time with my sewing machine, iron and bunch of fabric. :c)

A few weeks ago, I showed this picture with a small section of the compass completed.


Shortly thereafter, the small pieces became 1/4 sections of the full compass.


Then it came time to do the dreaded curved seam....and a huge one at that!


In order to make sure it was spread evenly throughout the arc, I made the sure edges were square and lined up a boatload of pins to make sure that curved seam was right!


Half of the circle now all together.  :c)


After getting those curved seams done, it was relatively easy to put all four sections together.  I did have to remove the paper from the paper-piecing first as there was a ton of bulk in that center seam.  As it was, it was difficult to get it "just right" due to the amount of fabric there.  I played around a bit, but then decided to stop messing with it and it was good enough.


Next up was cutting the pieces for the ribbon border that goes around the center compass.  I love seeing the stacks of cut fabric ready for sewing.


Then with the borders pinned up around the compass on my design wall....


Finally, an on-point picture since that's how it will be in the final quilt.


After getting back from visiting family over Christmas, I sewed on the 4th border...then proceeded to remove all four borders. 

They weren't quite lying as flat as I wanted them to be and in checking a few of the individual seams, I realized I had accidentally sewn all the ribbon blocks together with a scant 1/4" seam versus a regular 1/4" seam.  That 1/16-inch added up quickly and caused my borders to be a bit wavy.

Not my ideal way to spend 3 hours, but I fixed the borders and they are now back on the quilt and the thing is completely flat again.  Yay!

I'll be showing more in the next week or so.

For anyone in the Northeast.... hope you're staying warm and in from the snow.  We were forecasted to only have 4" by this evening, but we have 6" with another 10-15" on its way overnight.  Put bone-chilling cold on top of that (the high Friday is only 4F and the low is -15F), and its a recipe for lots of issues.  Thankfully I can work my first two days of the year from home and not have to venture out in the cold and snow.

Stay warm!


Happy Crafting!
~Sarah at upstateNYCreations

Monday, October 1, 2012

Make-A-List Monday

 Things have been very busy for me the past few weeks I'm sorry to say.  Wile I have made progress on quilts, life seems to be getting the better of me lately.  My last Make-a-List Monday post was 3 weeks ago now.  I can't believe we're already into October at this point.  Time seems to go by WAY too quickly.

So here's what I had planned for the prior weeks:
1. Post pictures of client quilt fabric when it arrives.
2. Press FQs and get them ready for storage.
3. Draft up directions for client quilt.

I did post about my client's quilt and directions for making the main blocks of the quilt here.  I also pressed a whole bunch of the fat quarters (FQs) and found a temporary home for them in my closet.  I have actually made a lot of progress on the client quilt.  I have all the blocks made for the center, the corner border blocks made and the piano key borders made.  At this stage, I need to sew blocks together into the quilt top, then finish up the borders and add them to the quilt.

Here's what I plan for this week (my hubby is traveling 2 days, so that will increase the sewing time):
1. Go to Quilt Guild meeting on Monday evening.
2. Sew entire center portion of quilt together.
3. Add long strips to both sides of the 4 piano key border units.
4. Add borders to the quilt.
5. Print directions for making a pillow cover.

Happy Crafting!
~Sarah at upstateNYCreations

Saturday, September 29, 2012

Monkey Wrench Quilt - Block Tutorial # 1

I have a quilt for client that I'm making and thought I would do a tutorial for how to make the main blocks for the quilt.  The block itself has a few names, but the two that I know are Monkey Wrench and Snail's Tail.  It is a traditional block.

The quilt itself is a total of 56" x 56" including borders, but the center portion that has the Monkey Wrench blocks is 48" x 48" and uses 16 12" blocks.

The fabrics for this particular quilt are to go along with a Jungle theme in the nursery.  I love seeing the fabric all pressed and folded ready for cutting, so I couldn't help but share this photo. :-)  The middle fabric is actually for the border, so the four colors for the blocks are the orange, yellow, medium green and dark green fabrics.

Client_Quilt_1-1

The cutting directions that I have here are for a total of 16 blocks to make the 48" x 48" center of this quilt.  The following strip widths and quantities need to be cut from each of the four colors.
  • 1 strip of each color cut 2" in width
  • 1 strip of each color cut 3-7/8" in width
  • 1 strip of each color cut 4-1/4" in width
  • 2 strips of each color cut 6-7/8" in width
  • 1 strip of each color cut 7-1/4" in width

Client_Quilt_1-3
 
When sub-cutting the strips into squares and triangles, set aside the remaining pieces to strips if you plan on making this full quilt.  The pieces for the corner blocks for the quilt can be cut from the remaining pieces of the strips.

The smallest strips can be cut into squares.  The rest of the strips are cut either once on the diagonal to obtain half square triangles, or twice on the diagonal to obtain quarter square triangles.
  • 3-7/8" squares - cut twice on diagonal
  • 4-1/4" squares - cut once on diagonal
  • 6-7/8" squares - cut twice on diagonal
  • 7-1/4" squares - cut once on diagonal
Here are all the individually cut pieces laid out in the pattern for the overall block.
Client_Quilt_1-2

Start with the middle squares and sew them into pairs, pressing seams towards the darkest fabrics (the greens in the photo below).

Client_Quilt_1-4


Next, sew the pairs into four-patches and nest the seams while sewing.

Client_Quilt_1-5

Next, you want to sew the triangles to the flat edges of the four-patch.  I have two different methods of doing this that I show below.  Either one works and it will really depend upon what you are comfortable with.  For this first set of triangles, I lined up the point of the triangle with the vertical seam (see 2nd picture below).  I also added one color at a time as I went around the blocks, pressing the seams after each triangle was added.

Client_Quilt_1-6

Client_Quilt_1-7


Here's a picture of the first square with all triangles added to the four-patch.  Make sure you square up your block at this stage.  You may not have a perfectly square block if your seams are off a little bit.  Obviously you want to get your seams as perfect as you can, but we're all human and we're not perfect! :-)

My blocks didn't end up perfectly square, but I did make sure that I trimmed my edges such that I had a quarter inch distance between the points and the edge of the fabric.  This will at least make your quilt appear to have perfect seams and corners.

Client_Quilt_1-8

This is the other method I used for adding the triangles to the edges for the subsequent rounds.  First take your triangle and fold it in half with the right sides facing out.

Client_Quilt_1-9

Line up the folded seam with the intersection point on your block.  This will ensure that your triangle is properly centered on the straight edge without having to physically mark the centers of each of the pieces.

Client_Quilt_1-10

Unfold the triangle and pin it in place.  I've found it best to pin at the middle and again at the front edge where it first goes under the pressure foot.  Notice how the yellow and orange triangles in the picture below are right at the intersection points for the squares "under" them.  I can definitely say my block wasn't absolutely square, but because I took the time to trim the edge to be 1/4", the next piece I added was at the exact spot it needs to be to show that "perfect" corner.

Client_Quilt_1-11

What I also did on these additional triangles is to add the triangles on opposite sides of the square at the same time.  This reduced the number of times that I had to get the iron heated up to press the seams.  Its still the same number of seams to press, but it was faster this way.

Client_Quilt_1-12

Here's a photo of the next-to-last round of triangles added to the center square.

Client_Quilt_1-13

Keep adding the triangles around the block until it is finished.  Then square up your final block.

Client_Quilt_1-14

In the photo above, I still had to had the last two triangles to the square, I do have a picture at this point, but did not upload it yet.  I will add that picture once it is uploaded.

The next tutorial will show how to make the corner blocks and then the final border (piano key border).

Happy Crafting!

~Sarah at upstateNYCreations
Wednesday, July 18, 2012

Wanna Know Wednesday - Quarter Square Triangles

After posting a few Wednesdays with the Lone Star tutorial, I'm finding it hard to determine something to write about this week.  It is hard to follow-up a tutorial!  I think this will be a simple post on Quarter Square Triangles to go with my Half Square Triangles post.

The traditional way to make QSTs is to add 1.25" to the finished size of your square.  For example, if you want a 3" finished QST block, you'll want to cut your squares at 4.25".  Unlike the HSTs where you traditionally added 7/8", adding 1.25" is an easy measurement on a ruler.  However, many times I still find that my QSTs are just a tad bit smaller than I wanted them to be.

The method I've found that works quite well is to add 1.5" to the finished size of my square.  If I want a 3" finished QST block, I'll cut my squares at 4.5".  Once your block is sewn together, its a little on the large side, but its so much easier to cut excess material off than to try to add material back onto the square.

This method is a tiny bit wasteful (all those little pieces being trimmed off), but for my own sanity, its definitely worth it!  Having blocks the right size makes it a lot easier to assemble your quilt top...and limits the amount of tears shed! :-)

Here are the steps for creating these quarter square triangles:

  1. Cut your light and dark squares 1.5" larger than your finished size of the square.
  2. Draw a diagonal line from one corner of the square to the other of the light material.
  3. Layer 2 squares (one light and one dark) with right sides together and sew a scant 1/4" away from the diagonal line that you drew.
  4. Press the entire square before cutting it apart in order to set the stitches.
  5. Cut your squares apart on the diagonal line that you drew (this cut will be between the two stitched lines).
  6. Press seams towards the dark material.  At this point, you will have two squares that look like half square triangles.
  7. Line up two sets of the half square triangles and layer them together such that when you sew your next seams, it is perpendicular to your pressed seams.  
  8. Pin the blocks together such that they won't shift during sewing.
  9. Draw a diagonal line from one corner to the other of the top square.  
  10. Sew a scant 1/4" away from the diagonal line.
  11. Press the entire square again before cutting it apart in order to set the stitches.
  12. Cut your square apart on the diagonal line that you drew (this cut will be between the two stitches lines).
  13. Press seams toward one side.
  14. Trim the excess material off the block to make sure that it is perfectly square and you'll have two quarter square triangles.

Below is a table of example sizes of finished squares and what size square you need to cut to achieve that final size.


Finished Size of Square
Cut Size of Squares
1.5”
3.0”
2.0”
3.5”
2.5”
4.0”
3.0”
4.5”
3.5”
5.0”
4.0”
5.5”
4.5”
6.0”
5.0”
6.5”

Happy Crafting!
~Sarah at upstateNYCreations