Showing posts with label half square triangles. Show all posts

Tuesday, May 20, 2014

Sampler Quilt

Again, it has been a little while since I've posted again.  I've been slowly making progress on a few projects as well as getting outside to get the garden started.  Its finally warmer here, so I've been spending my weekends outside doing yard work.  We spread pellets onto the lawn that are supposed to repel/kill ticks and other little bugs.  So hopefully the tick population will stay in the woods and not stick to us anymore! :c)

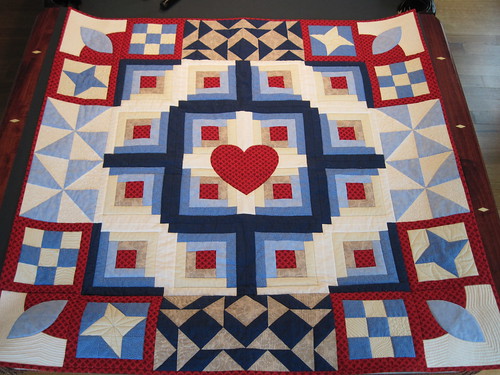
A few weeks back, I did finally get pictures of this sampler quilt that I did as part of a quilt class 3 years ago (yikes!).  I took the class mainly to meet a few other quilters, but also learned a few techniques while I was there.
Sampler 01

When I started quilting this, I wasn't quite sure how to do it, but then decided to just make it completely a sampler.  Most of the blocks have different quilting in them, but I did anchor the four corner blocks by doing the same quilting in them.

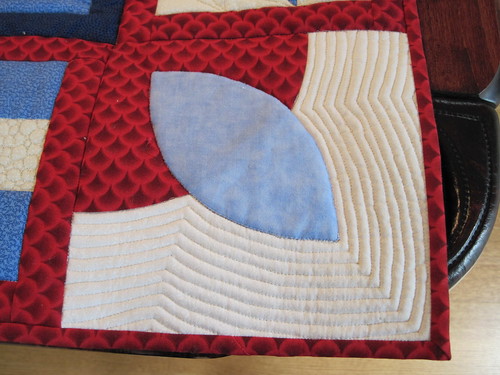
These are basically just echo-quilted around the appliqued shape.
Sampler 02

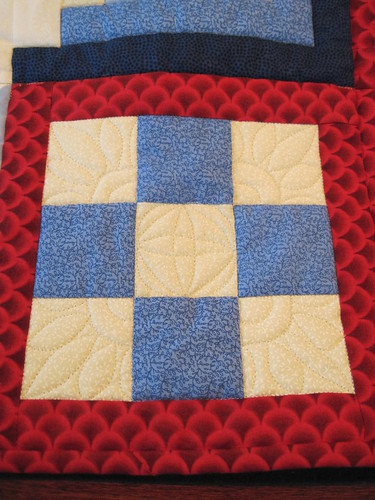
This one has four different styles in each of the white spaces:
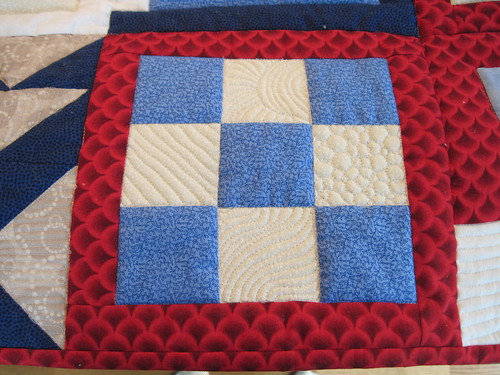
Sampler 03

My attempt at keeping lines fairly straight without marking anything...
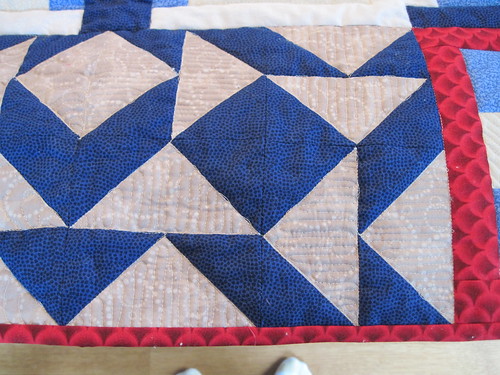
Sampler 04

And this is probably the most ugly.  My "feathers" are pretty atrocious.  They look more like amoeba or something like that.  I'm definitely going to have to practice my feathers a heck of a lot more!
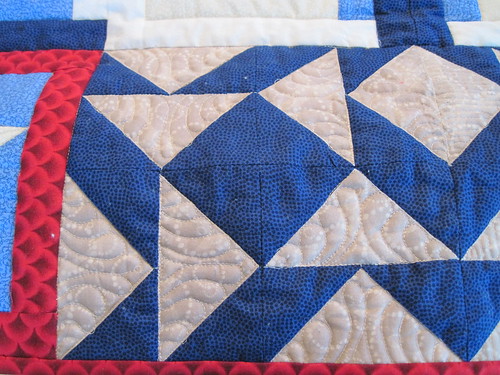
Sampler 05


Sampler 06


Sampler 07

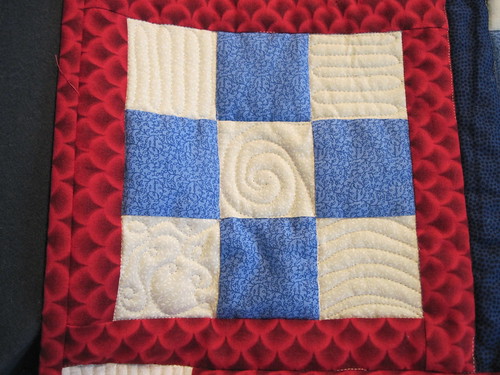
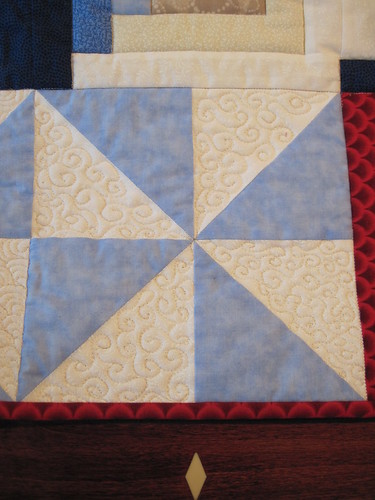
I actually like how these swirly shapes turned out.  The little curlicues are neat and give a lot of texture to the quilt:
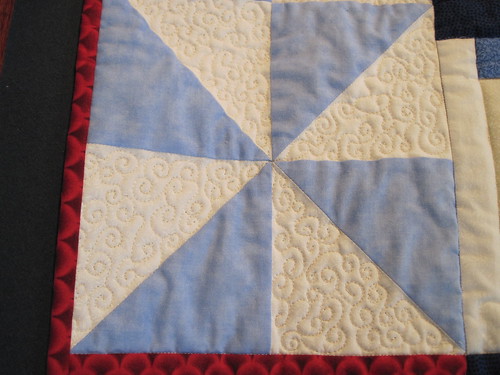
Sampler 08

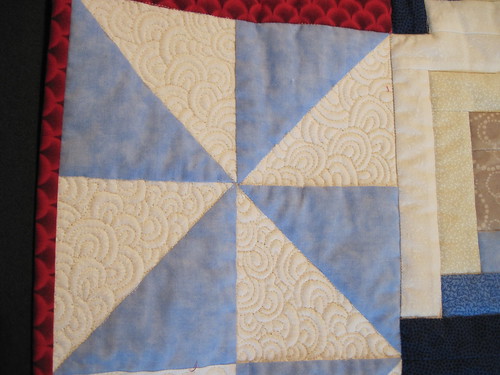
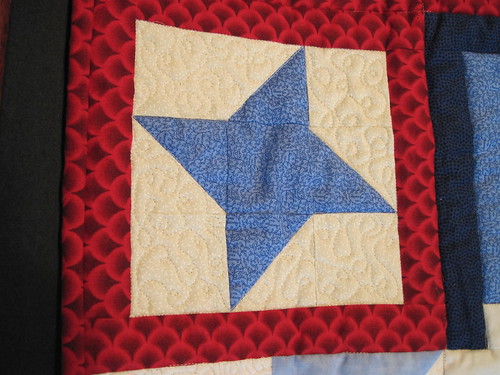
This one was also a lot of fun.  It was a little messy at first, but as I got used to it, I was able to find a rhythm that worked for me...
Sampler 09


Sampler 10


Sampler 11

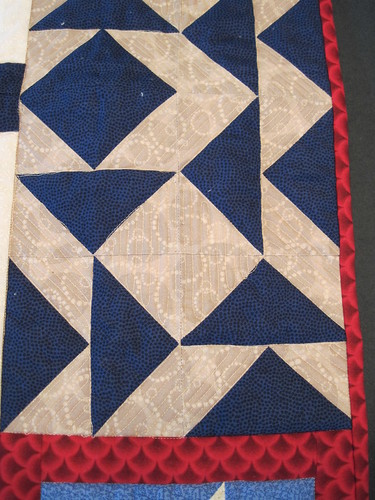
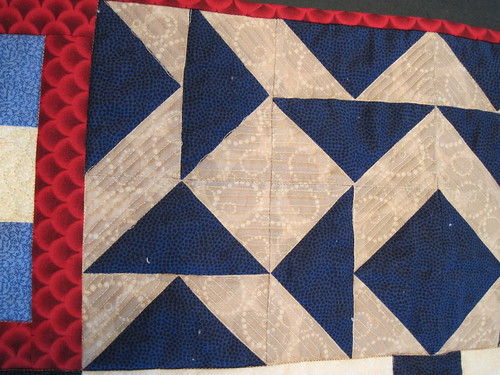
More straight lines that were done parallel to the triangles for the flying geese.  These lines are a lot better than the first ones...
Sampler 12


Sampler 13

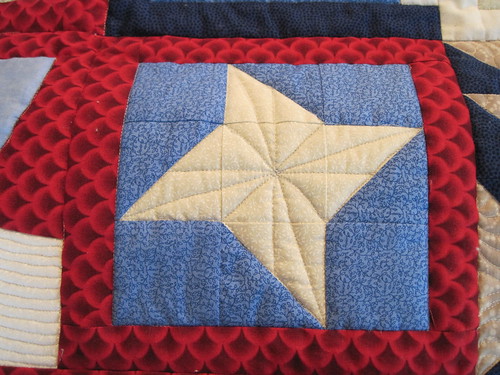
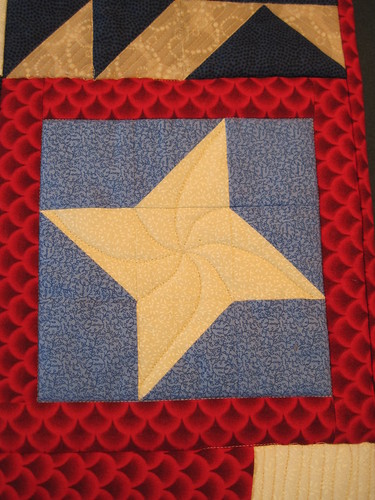
I really like the quilting on this friendship star block.  It has just enough spin to it that it makes it flow a bit and reminds me of ninja stars.
Sampler 14


Sampler 15

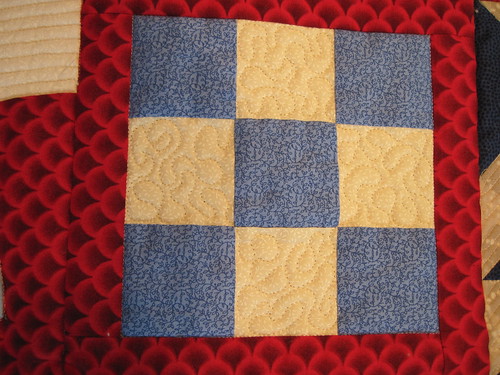
More evenly spaced curlicues....

Sampler 16

Same with the dense filler... better the 2nd time around...
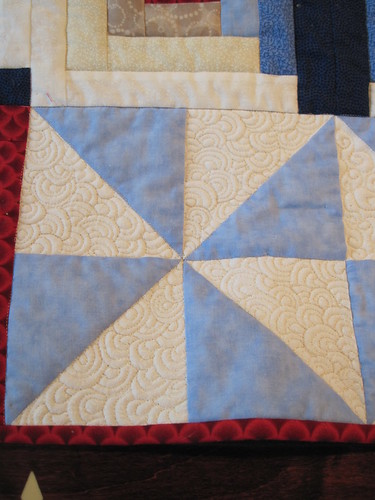
Sampler 17

More flowing arcs in a reverse friendship star block. 
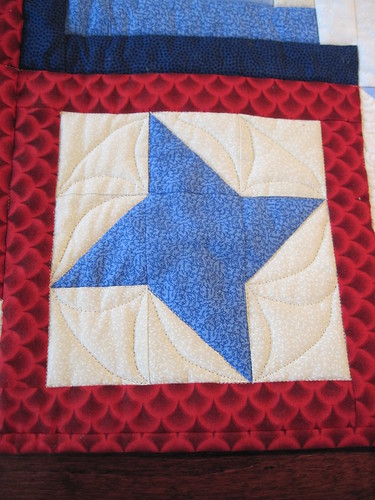
Sampler 18

Its hard to see the quilting on the center area with the log cabin blocks, but I basically stuck to in the ditch quilting.  I did some free motion on the heart, but I couldn't get it to photograph since its red thread on red fabric.
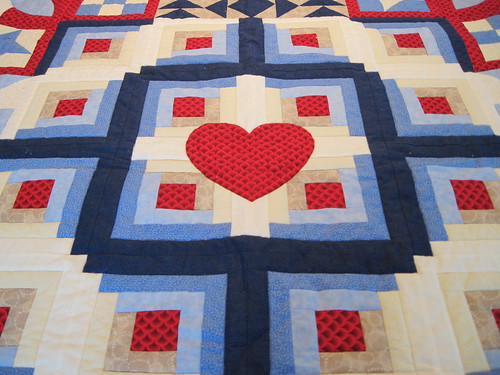
Sampler 19


Overall, I liked this quilt and being able to use sample quilting on the different blocks.  It allowed me to try out a bunch of different things in the blocks to see if I liked anything and where I need to practice a bunch more.

Hope everyone is enjoying their spring!

Happy Crafting!
~Sarah at upstateNYCreations

Monday, January 6, 2014

Mariner's Compass Progress and Needlepoint

I've been making more progress on the Mariner's Compass quilt.  The setting triangles are now in place and the quilt is very square and very flat, which is a little bit of a surprise.


I also started making the 80 square-in-square blocks that are in the pieced border for the quilt.  I did two test blocks before I cut everything and they came out just right.  I love seeing the stacks of fabric waiting and ready to be sewn. :c)


I also did some needlework this past week and finished up another page on this pattern.  I've now completed 12 pages and am a little over 1/3 done.  Its going to be quite a while before this puppy is finished!


Happy Crafting!
~Sarah at upstateNYCreations

Wednesday, April 25, 2012

"Wanna Know" Wednesday - Half Square Triangles

One of the most basic blocks for quilting is the half square triangle (HST).  I'm sure if you look around on the internet, you will be able to find many different ways on how to do this.  Some involve specialty rulers.  Some involve purchasing or printing out sheets of paper with the half square triangle lines drawn on them.  Others involve nothing but your usual quilting tools (i.e. ruler, rotary cutter, cutting mat).

The most traditional way is to add 7/8" to the finished size of the square you want.  For example, if you want your square to finish at 2" in your quilt, you would cut your squares to 2-7/8".  I've always found that unless you get an absolutely perfect seam and perfect pressing...these squares will end up a little small.  We all know how difficult it is to add material to a square....it's impossible!

The method that I've found that works really well is to actually cut your initial squares another 1/8" larger than the traditional way.  In this method, you would add 1" to the finished size of the square you want.  For example, if you want your square to finish at 2" in your quilt, you would cut your squares to 3".  Granted, this method does involve trimming the block down after you press it; however, it does mean that your square will be square.  It makes it SO much easier to assemble your quilt top if your individual parts are square.

Here are the steps for creating these half square triangles:
  1. Cut your light and dark squares 1" larger than your finished size of the square.
  2. Draw a diagonal line from one corner of the square to the other of the light material.
  3. Layer 2 squares (one light and one dark) with right sides together and sew a scant 1/4" away from the diagonal line that you drew.
  4. Press the entire square before cutting it apart in order to set the stitches.
  5. Cut your squares apart on the diagonal line that you drew (this cut will be between the two stitched lines).
  6. Press seams towards the dark material.
  7. Trim the excess material off the block to make sure that it is perfectly square.
I will add some photos to this post later to show the different steps, but for now, you'll have to make do with just text.

Below is a table of example sizes of finished squares and what size square you need to cut to achieve that final size.


Finished Size of Square
Cut Size of Squares
1.5”
2.5”
2.0”
3.0”
2.5”
3.5”
3.0”
4.0”
3.5”
4.5”
4.0”
5.0”
4.5”
5.5”
5.0”
6.0”

Happy Crafting!
~Sarah at upstateNYCreations