Here's the list from last Monday:
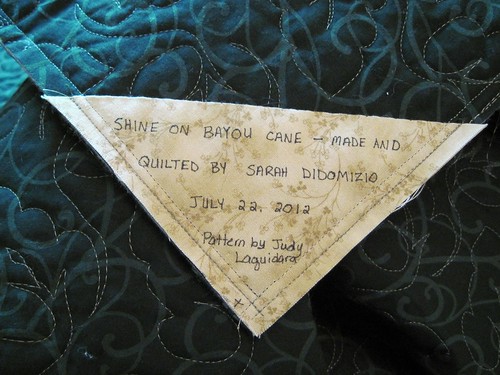
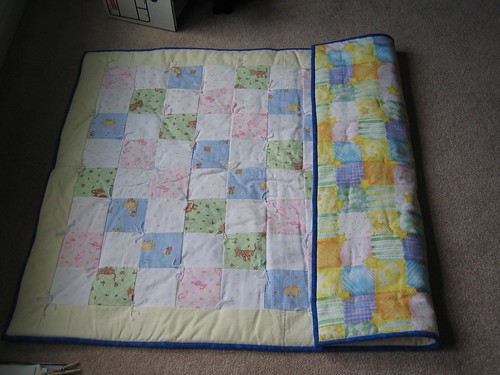
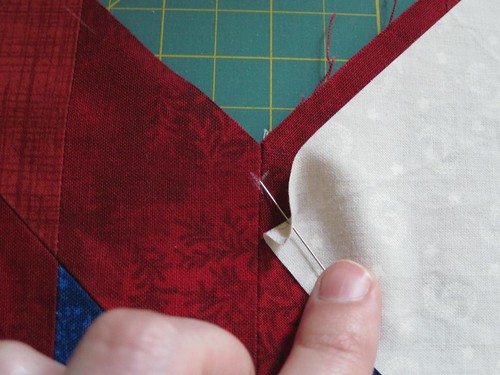
1. Post photos of Shine on Bayou Cane's label and binding. I machine stitched the binding and label on yesterday, but the actual hand-stitching is going to wait until it gets a bit cooler. DONE! See post here.
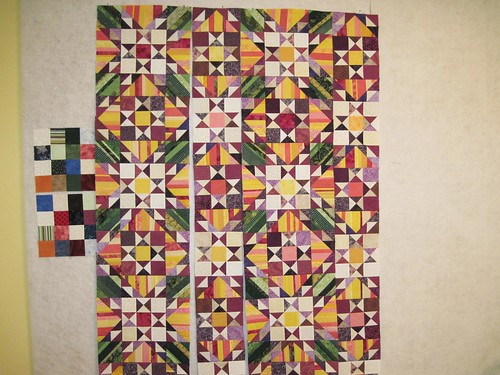
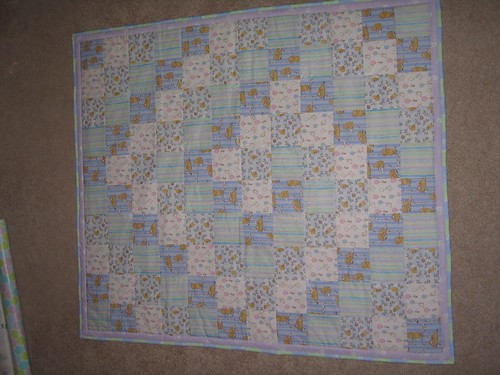
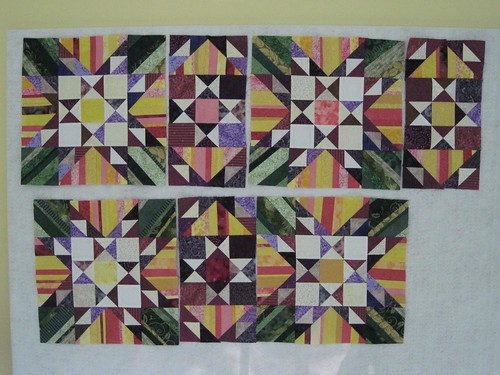
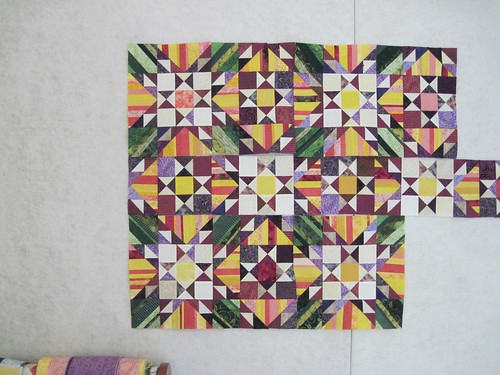
2. Sew rows together for Wildflower Fields. DONE! See post here.
3. Post for Wanna Know Wednesday. DONE! See post here.
4. Trim up extra pieces of fabric from backing of Shine on Bayou Cane to use in scrap quilts. Not done.
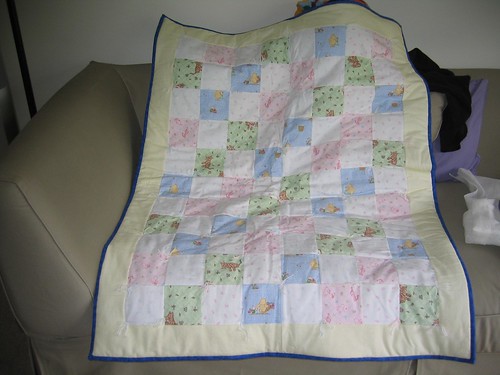
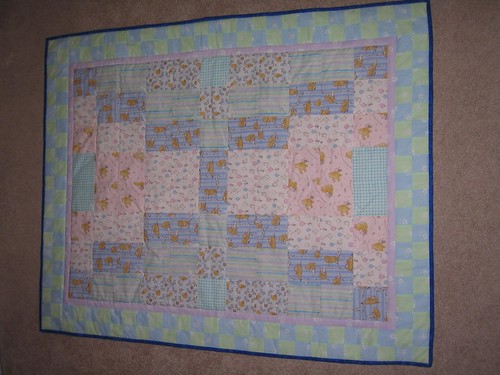
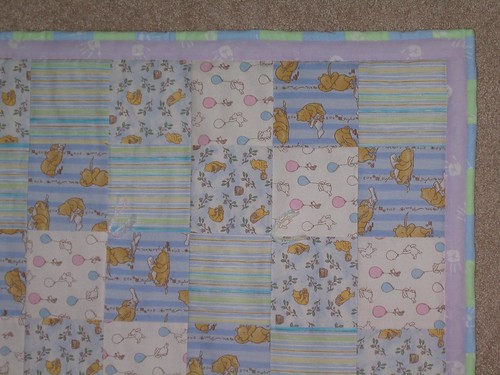
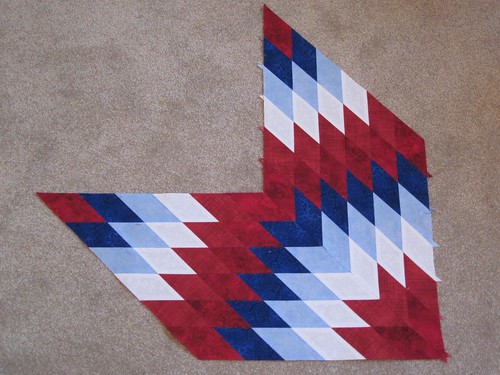
5. Post about Quilt #4 on the blog. DONE! See post here.
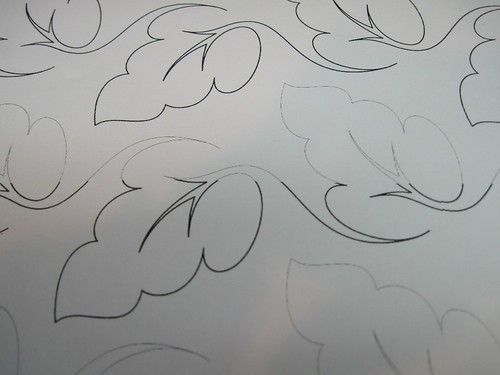
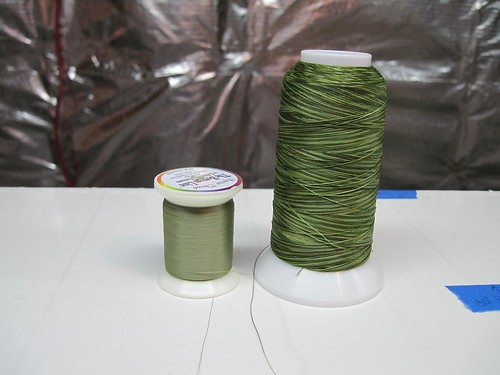
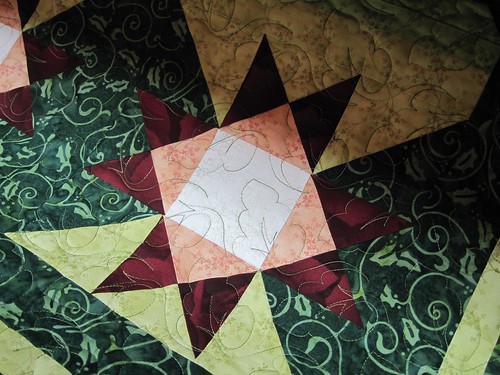
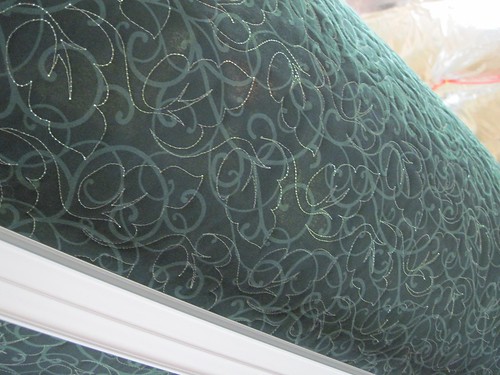
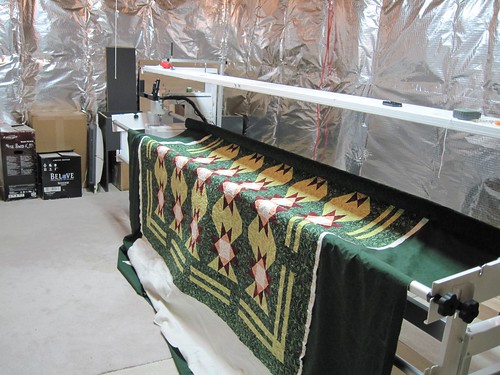
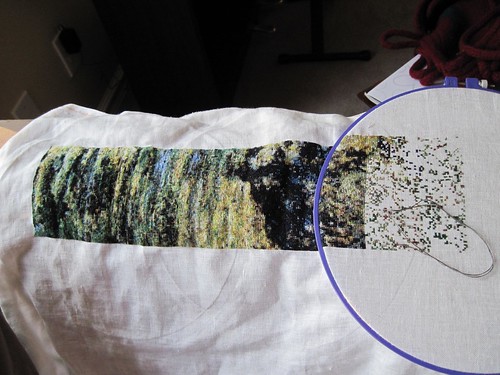
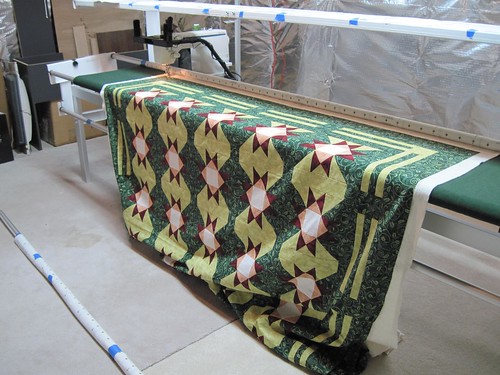
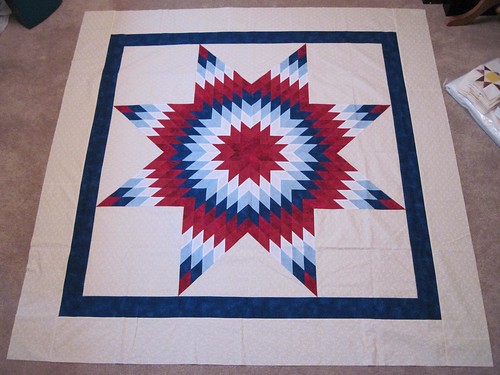
I also started quilting on a quilt top that I did for a class last summer. I have all the stitch-in-the-ditch quilting done and am now going to start the custom quilting. I'm going to try out some new things with this quilt and hopefully use it as a sampler.
So here's the plan for this coming week. Its a shortened plan as my hubby has to have knee surgery on Thursday morning. He doesn't handle illness well and this will most likely be worse. I will definitely be tied up on Thursday with that and we'll have to play it by ear on how he does on Friday and over the weekend. Hopefully it won't be as bad as he thinks it will be.
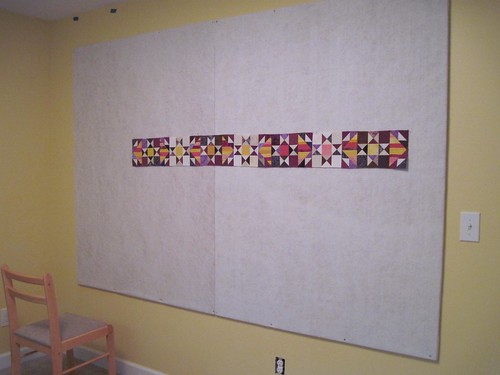
1. Plan stitching for Quilt Sampler and start stitching blocks.
2. Post for Wanna Know Wednesday.
3. Post about Quilt #5 on the blog.
Happy Crafting!
~Sarah at upstateNYCreations